
A practical injection molding part weight and balance check asks a simple question: when the same tool runs under recorded, stable conditions, do comparable cavities produce comparable evidence? For buyers of a multi-cavity mold, the check is a fast screen for filling and packing consistency. It is not a universal acceptance rule, and it cannot replace part-specific dimensional, cosmetic, leak, assembly, or performance checks.
A disciplined approach identifies every sample by cavity and shot, uses an appropriate verified scale, holds the sample condition constant, and compares repeated observations. Read weight alongside the tool layout, runner or hot-runner arrangement, process record, any appropriate short-shot study, and the drawing’s critical-to-quality requirements. This creates evidence that remote buyers can assess without assuming a generic tolerance for every resin or application.
Use part weight as a sensitive process indicator, not as proof that every critical dimension or functional requirement is acceptable. Agree the method, comparison basis, and escalation path before the trial or production run.
01
Start with the right question: repeatability within each cavity and balance across comparable cavities
In a multi-cavity mold that produces the same part in each cavity, a cavity-by-cavity comparison can reveal whether melt reaches and packs the cavities similarly. A light or heavy part can point to a different fill or pack response. That is useful, but not conclusive: the right weight does not prove a sealing, fit, cosmetic, or dimensional requirement, and a small difference may be harmless if it has no effect on the agreed requirements.
Do not compare unlike products as though they should weigh the same. In a family mold, cavities may intentionally form different shapes, wall sections, or nominal masses. Establish a baseline for each cavity or product position and investigate drift from its own approved reference. Apply the same rule when inserts, labels, post-mold trimming, or secondary operations change measured mass.
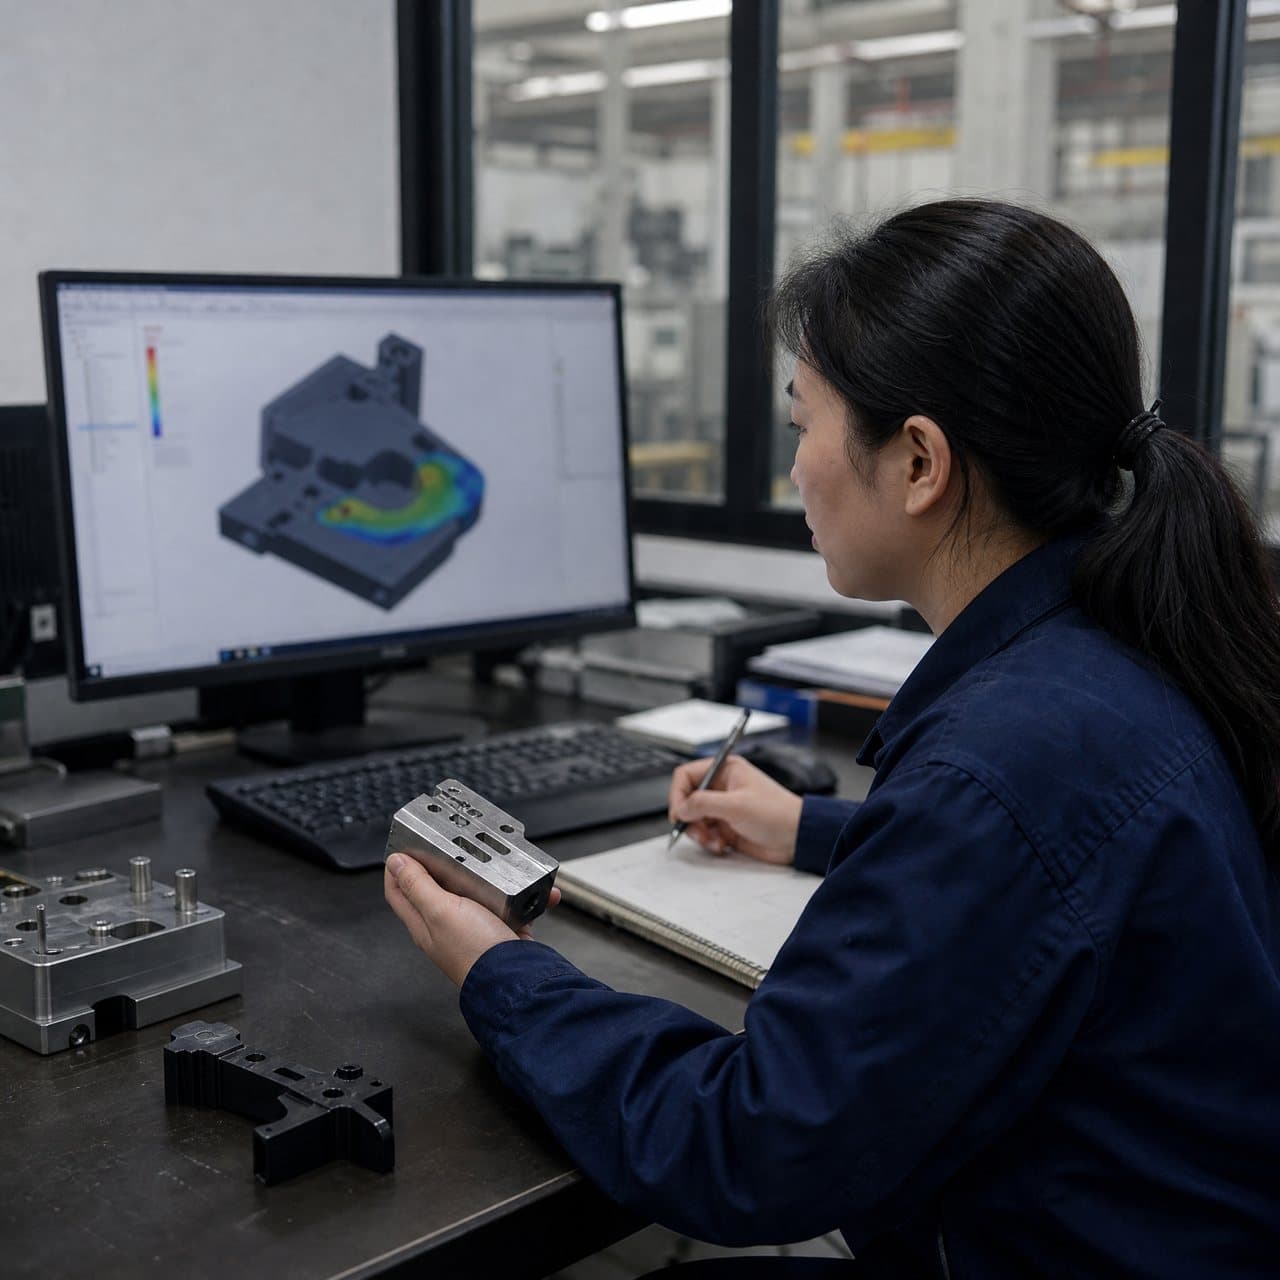
Equal geometric flow length is a design intention, not a guarantee of equal molding behavior. Published multi-cavity research notes that shear-rate and mold-temperature distributions can produce different melt viscosities and imbalanced flow fronts even with a geometrically symmetric arrangement [3]. An industry review likewise describes pressure, temperature, and shear effects in supposedly balanced runner systems [2]. Buyers should therefore request evidence from the actual tool and stated process, not rely solely on a balanced runner drawing or a simulation image.

02
Set up a repeatable weight study before interpreting the numbers
Define the study in writing. Record the part number and revision, resin grade and color, tool and cavity map, machine, date, and actual run settings. Relevant settings normally include melt and mold temperature, fill profile, transfer or velocity-to-pressure switchover, pack profile and time, cooling and cycle time, and hot-runner zones when present. Include material handling and drying records when relevant. A number without operating context is difficult to compare later.
Use a scale whose resolution and verification status suit the part mass and the difference that matters. Weigh the same item state every time: for example, a fully molded part after runner removal, or a part plus runner when runner mass is under review. Do not mix warm and cooled parts, different conditioning intervals, or differently trimmed gates. Label or segregate each cavity immediately; a tray mapped to the cavity layout is often more reliable than identifying parts afterward.
Collect samples from every comparable cavity over multiple consecutive cycles after the process has settled. Show individual weights, each cavity’s average, minimum, maximum, range, and standard deviation or coefficient of variation, plus the overall spread. These are descriptive statistics, not automatic release limits. Any decision should reflect the part’s function, resin, nominal mass, cavity count, measurement uncertainty, drawing requirements, and validation plan.
03
Use full parts and controlled short shots for different evidence
Finished-part weights under agreed production-like settings help monitor pack consistency and detect drift. Compare the cavity pattern across repeated cycles, not only total shot weight; a stable total can conceal a shift between cavities. In parallel, inspect critical dimensions, visual zones, assembly features, and functional requirements.
A controlled short-shot study is a separate diagnostic exercise, not a substitute for production samples. The objective is to make the flow-front progression visible before normal packing changes the final mass. Industry guidance describes turning off hold pressure to make all parts at least somewhat short, then weighing the results to assess imbalance [2]. Research on multi-cavity filling similarly reports that short-shot testing can reveal imbalance and compares observed flow fronts with simulation [3]. The exact method should be planned by the process owner because an unsafe, incomplete, or poorly documented trial can be misleading.
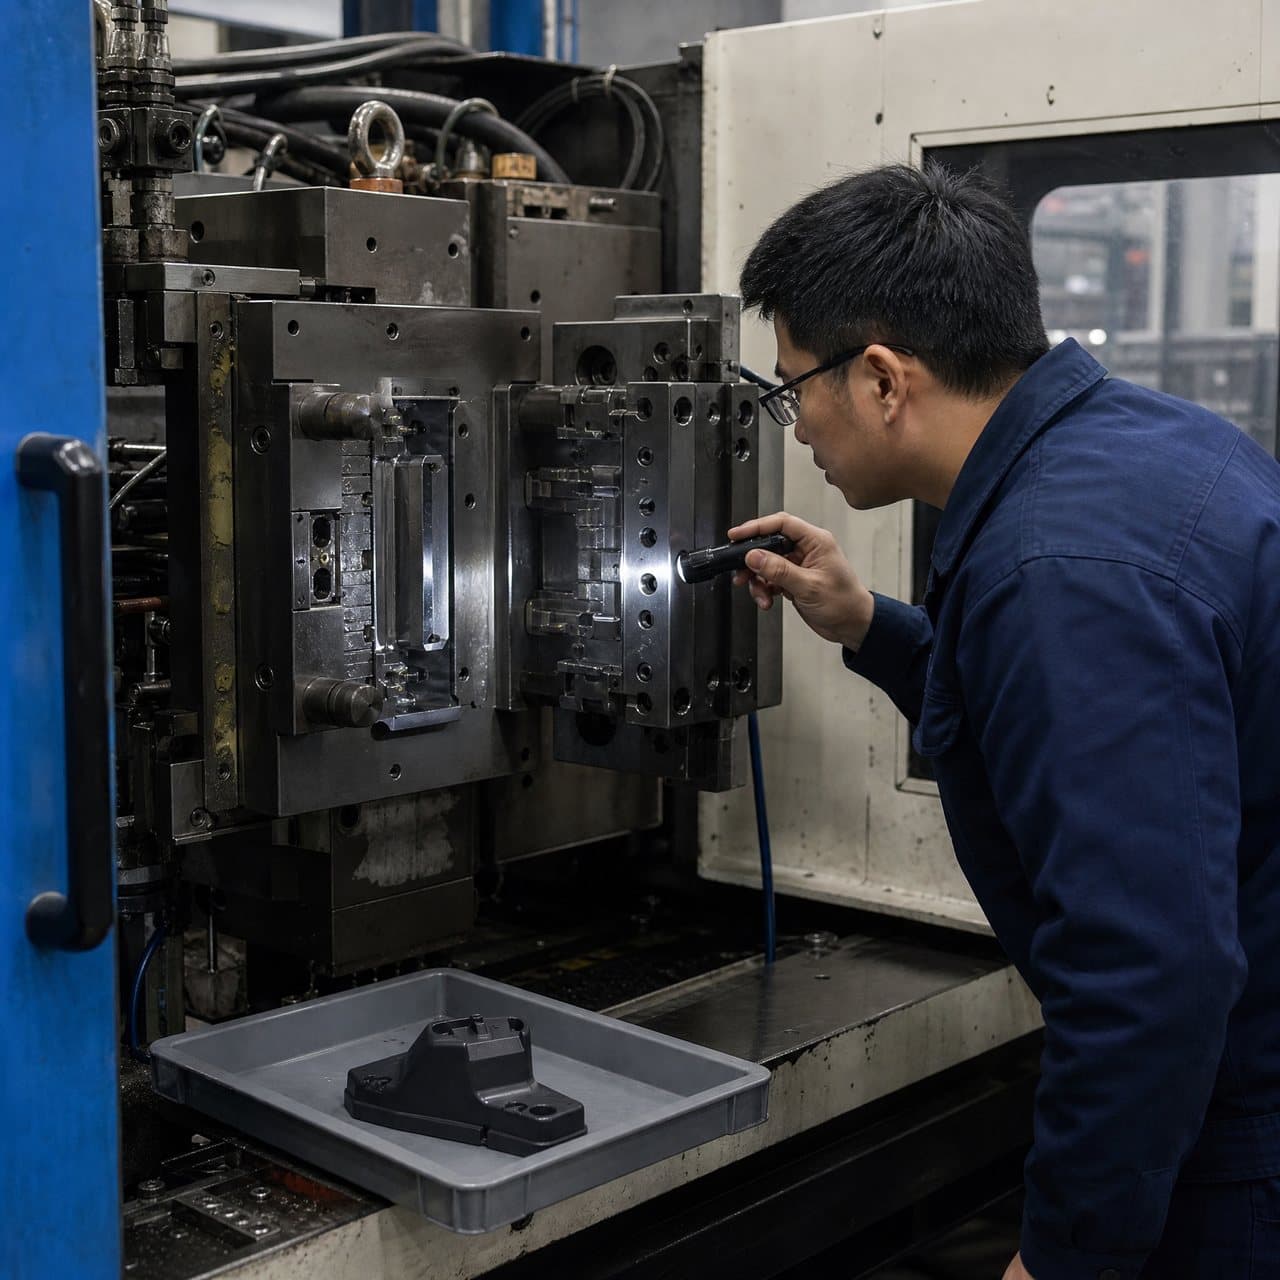
For either study, preserve the raw data. Include labeled short-shot photographs where used, cavity locations, scale readings or exports, and the setting sheet. Record cycles sampled and excluded observations with a reason. This lets an overseas buyer review evidence remotely and helps the manufacturing team reproduce the study after a material, tool, process, or machine change.
04
Investigate patterns, then verify the correction on the part
Look for a repeatable spatial pattern first. A consistently early-filling or heavier cavity may point to gate restriction, runner or manifold thermal behavior, local cooling, venting, cavity condition, or pressure transfer. A pattern that moves cycle to cycle may instead indicate process instability, material variation, hot-runner control, or measurement and handling errors. Separate a single-cavity issue from a whole-tool shift before proposing a tool change.
Cavity-pressure data can add resolution when the program justifies sensors. A peer-reviewed study found cavity pressure closely related to molded-part quality and reported correlations between part weight and pressure-curve attributes in its test conditions [1]. Its pressure traces reflect filling, packing, gate freeze, and cooling. This is supporting evidence, not a guarantee that one signature assures every characteristic in another tool, resin, or geometry.
Do not treat gate enlargement, nozzle adjustment, or a process change as a quick cure without evidence. Changes can shift weld lines, flash risk, packing, appearance, and the usable process window; an industry source cautions that gate modifications may narrow that window [2]. After a controlled adjustment, repeat the same study and recheck agreed CTQs. Closeout should state the cause, action, before-and-after data, tool revision, and whether dimensional and functional checks were repeated.
Practical takeaway
Before you move
to the next review.
- Map and permanently identify every comparable cavity before collecting samples.
- Record resin, tool, machine, process settings, cycle state, sample condition, and scale verification status.
- Weigh multiple consecutive samples from every cavity; retain individual readings rather than reporting only an overall average.
- Use a documented short-shot study only when it is appropriate and safely controlled by the molding team.
- Review weight patterns with visual, dimensional, functional, and process evidence before approving a correction or release decision.
FAQ
Common questions
What does cavity balance mean in injection molding?
For identical cavities, cavity balance means that filling and packing behavior is sufficiently comparable for the agreed part requirements. It is broader than equal runner length. Buyers should evaluate actual cavity-identified samples, process records, and where justified, flow-front or pressure evidence. The acceptance standard must be specific to the part and program.
Is part weight enough to approve a multi-cavity tool?
No. Part weight is a useful screening and monitoring signal, especially when it is repeated by cavity under controlled conditions. It does not replace inspection of drawing dimensions, appearance, assembly, leak performance, material requirements, or other agreed CTQs. Approval should combine the relevant evidence.
How many parts should be weighed from each cavity?
There is no responsible universal number. Choose a sample plan that reflects cavity count, part risk, measurement capability, process stability, and the validation or customer requirement. The essential point is to sample every comparable cavity over repeated stable cycles and retain the individual data.
Why can a geometrically balanced runner still produce different cavity weights?
Melt flow is affected by more than path length. Shear history, melt and mold temperatures, gate behavior, local cooling, hot-runner performance, venting, and actual process conditions can change the flow and packing response. That is why a tool drawing or simulation should be verified with controlled trial evidence.
References
Source material
- [1] Wang et al., Research on Quality Characterization Method of Micro-Injection Products Based on Cavity Pressure, Polymers (2021)
- [2] Plastics Technology, Unbalanced? No Shortage of Ways to Fix Uneven Filling of Multi-Cavity Molds
- [3] Tsai et al., Filling-Balance-Oriented Parameters for Multi-Cavity Molds in Injection Molding, Polymers (2022)
This guide is general information for early procurement and engineering discussion. It does not replace product-specific DFM, qualification, validation, regulatory assessment or legal advice.