
An injection mold spare parts and maintenance kit should protect production continuity without encouraging unplanned substitutions. The buyer’s task is to identify which components are truly tool-specific, which can be held as standard consumables, and which require engineering approval before replacement. A kit that lacks identification, drawings or storage controls can create as much delay as an empty shelf.
This guide is for procurement, tooling, maintenance and quality teams specifying a kit for an existing or new mold. It covers the information needed to source spare parts, the checks that make a replacement repeatable and the records that help a team decide whether a problem is routine maintenance, corrective repair or a design change.
Buy the recovery capability, not just the hardware: every critical spare should have an identity, fit or function check, storage condition, approval route and a clear trigger for replenishment.
01
Start with a tool-specific risk and parts register
Begin with the mold assembly, component drawings, maintenance history and the failure modes that have actually occurred. List the part number or drawing reference, location in the mold, material or treatment direction where relevant, quantity installed, quantity on hand, supplier, lead-time estimate and the person who can approve a substitute. If a detail is unknown, mark it as unknown rather than inferring it from a photograph.
Separate the register into three practical groups. Critical spares can stop the tool or affect a CTQ if they fail, such as a damaged ejector component, seal, hot-runner connection or locating element. Planned-service items are replaced at an inspection or service event when condition indicates that replacement is appropriate. Consumables support cleaning, preservation or routine work but should not be treated as interchangeable with precision components.
The register should follow the tool, not only the supplier’s catalog. Standard component suppliers publish broad ranges of mold hardware and fluid-connection products, but the correct size, material, temperature capability and interface still depend on the actual tool design.[1] Link each line to a drawing, photograph or measured feature where possible. InjeForm’s [capabilities](/capabilities) and [process](/process) pages can help frame the technical discussion before a kit is quoted.
02
Define what belongs in the maintenance kit
A maintenance kit often needs more than replacement steel. Depending on the tool, it may include approved seals and O-rings, water-line connectors and plugs, ejector or return components, screws and locating hardware, vent-cleaning tools, corrosion protection materials, approved lubricants and identification labels. Hot-runner tools may need additional connection, heater or sensor information, but those items should be specified against the controller and manifold documentation rather than purchased by appearance alone.
Do not place precision mold components and general consumables under one uncontrolled stock code. A pin, bushing, insert or shutoff component may require a dimensional or functional check before release. A cleaning brush or preservation cloth may not. The packing list should show which items are install-ready, which require measurement, and which are for maintenance use only.
Ask the supplier to state the basis for every proposed substitute. The basis might be an identical manufacturer part number, an approved equivalent with the same interface, or a custom replacement made to a controlled drawing. ‘Fits the mold’ is not enough when hardness, clearance, seal material, surface finish, temperature rating or corrosion resistance can affect service life or molded-part quality.
| Kit group | Typical examples | Buyer control before release |
|---|---|---|
| Critical tool spares | Ejector components, guide elements, inserts, shutoff or locating hardware | Match drawing, revision, dimensions and material or treatment requirement; define approval for alternatives |
| Fluid and sealing items | O-rings, water fittings, plugs, hoses or manifold seals | Confirm size, pressure and temperature suitability; inspect and leak-check the circuit after work |
| Hot-runner-related items | Heaters, thermocouples, connectors or documented service hardware | Match manifold/controller records and require competent electrical and temperature checks |
| Maintenance consumables | Approved lubricant, cleaner, rust preventive and lint-controlled wipes | Define compatibility, storage life, application limits and contamination controls |
| Inspection and identification aids | Tool tags, cavity labels, gauges or reference photographs | Keep calibration or verification status and link records to the tool number |
03
Set stocking levels without pretending to know the future
There is no universal spare-parts quantity that suits every mold. Set the level from consequence, installed quantity, failure history, supplier lead time, available backup tooling, production schedule and the possibility of local sourcing. One spare may be reasonable for a low-risk standard fitting; a family of cavity inserts may need a documented replacement plan rather than a large stock position.
Use a simple decision rule: hold more protection where failure stops a high-value or time-critical program and recovery is slow; hold less where the component is readily available, non-critical and easy to verify. For multi-cavity tools, identify whether a single component failure disables one cavity or the complete tool. Keep cavity identity and interchangeability visible in the register.
Review the level after each meaningful failure, refurbishment or supplier change. A consumption record should capture the tool condition, replaced item, reason, quantity used, remaining balance and replenishment action. This is more useful than setting a high minimum once and never checking whether the kit still reflects the tool.
04
Make storage and traceability part of the specification
Small parts are easy to lose, mix or damage. Store them in labeled locations that identify tool number, component reference, revision, quantity, receipt date and status. Keep precision surfaces protected from impact and contamination, and follow the component maker’s instructions for temperature, humidity, packaging and shelf life where those instructions apply.
Separate released spares from quarantined, obsolete or returned items. A returned component should not go back into install-ready stock simply because it looks unused. Record why it was returned and who confirmed its condition. For seals and chemicals, use lot or expiry information when supplied; for machined components, retain the certificate or inspection evidence that the program requires rather than assuming a generic certificate is sufficient.
Maintenance records do not need to be elaborate to be useful. They should show what was inspected or replaced, when, by whom, with which part identity, and what follow-up check was completed. This supports a controlled quality process without claiming that a particular certification or documentation package is automatically required for every mold.[2]

05
Define the replacement and post-maintenance checks
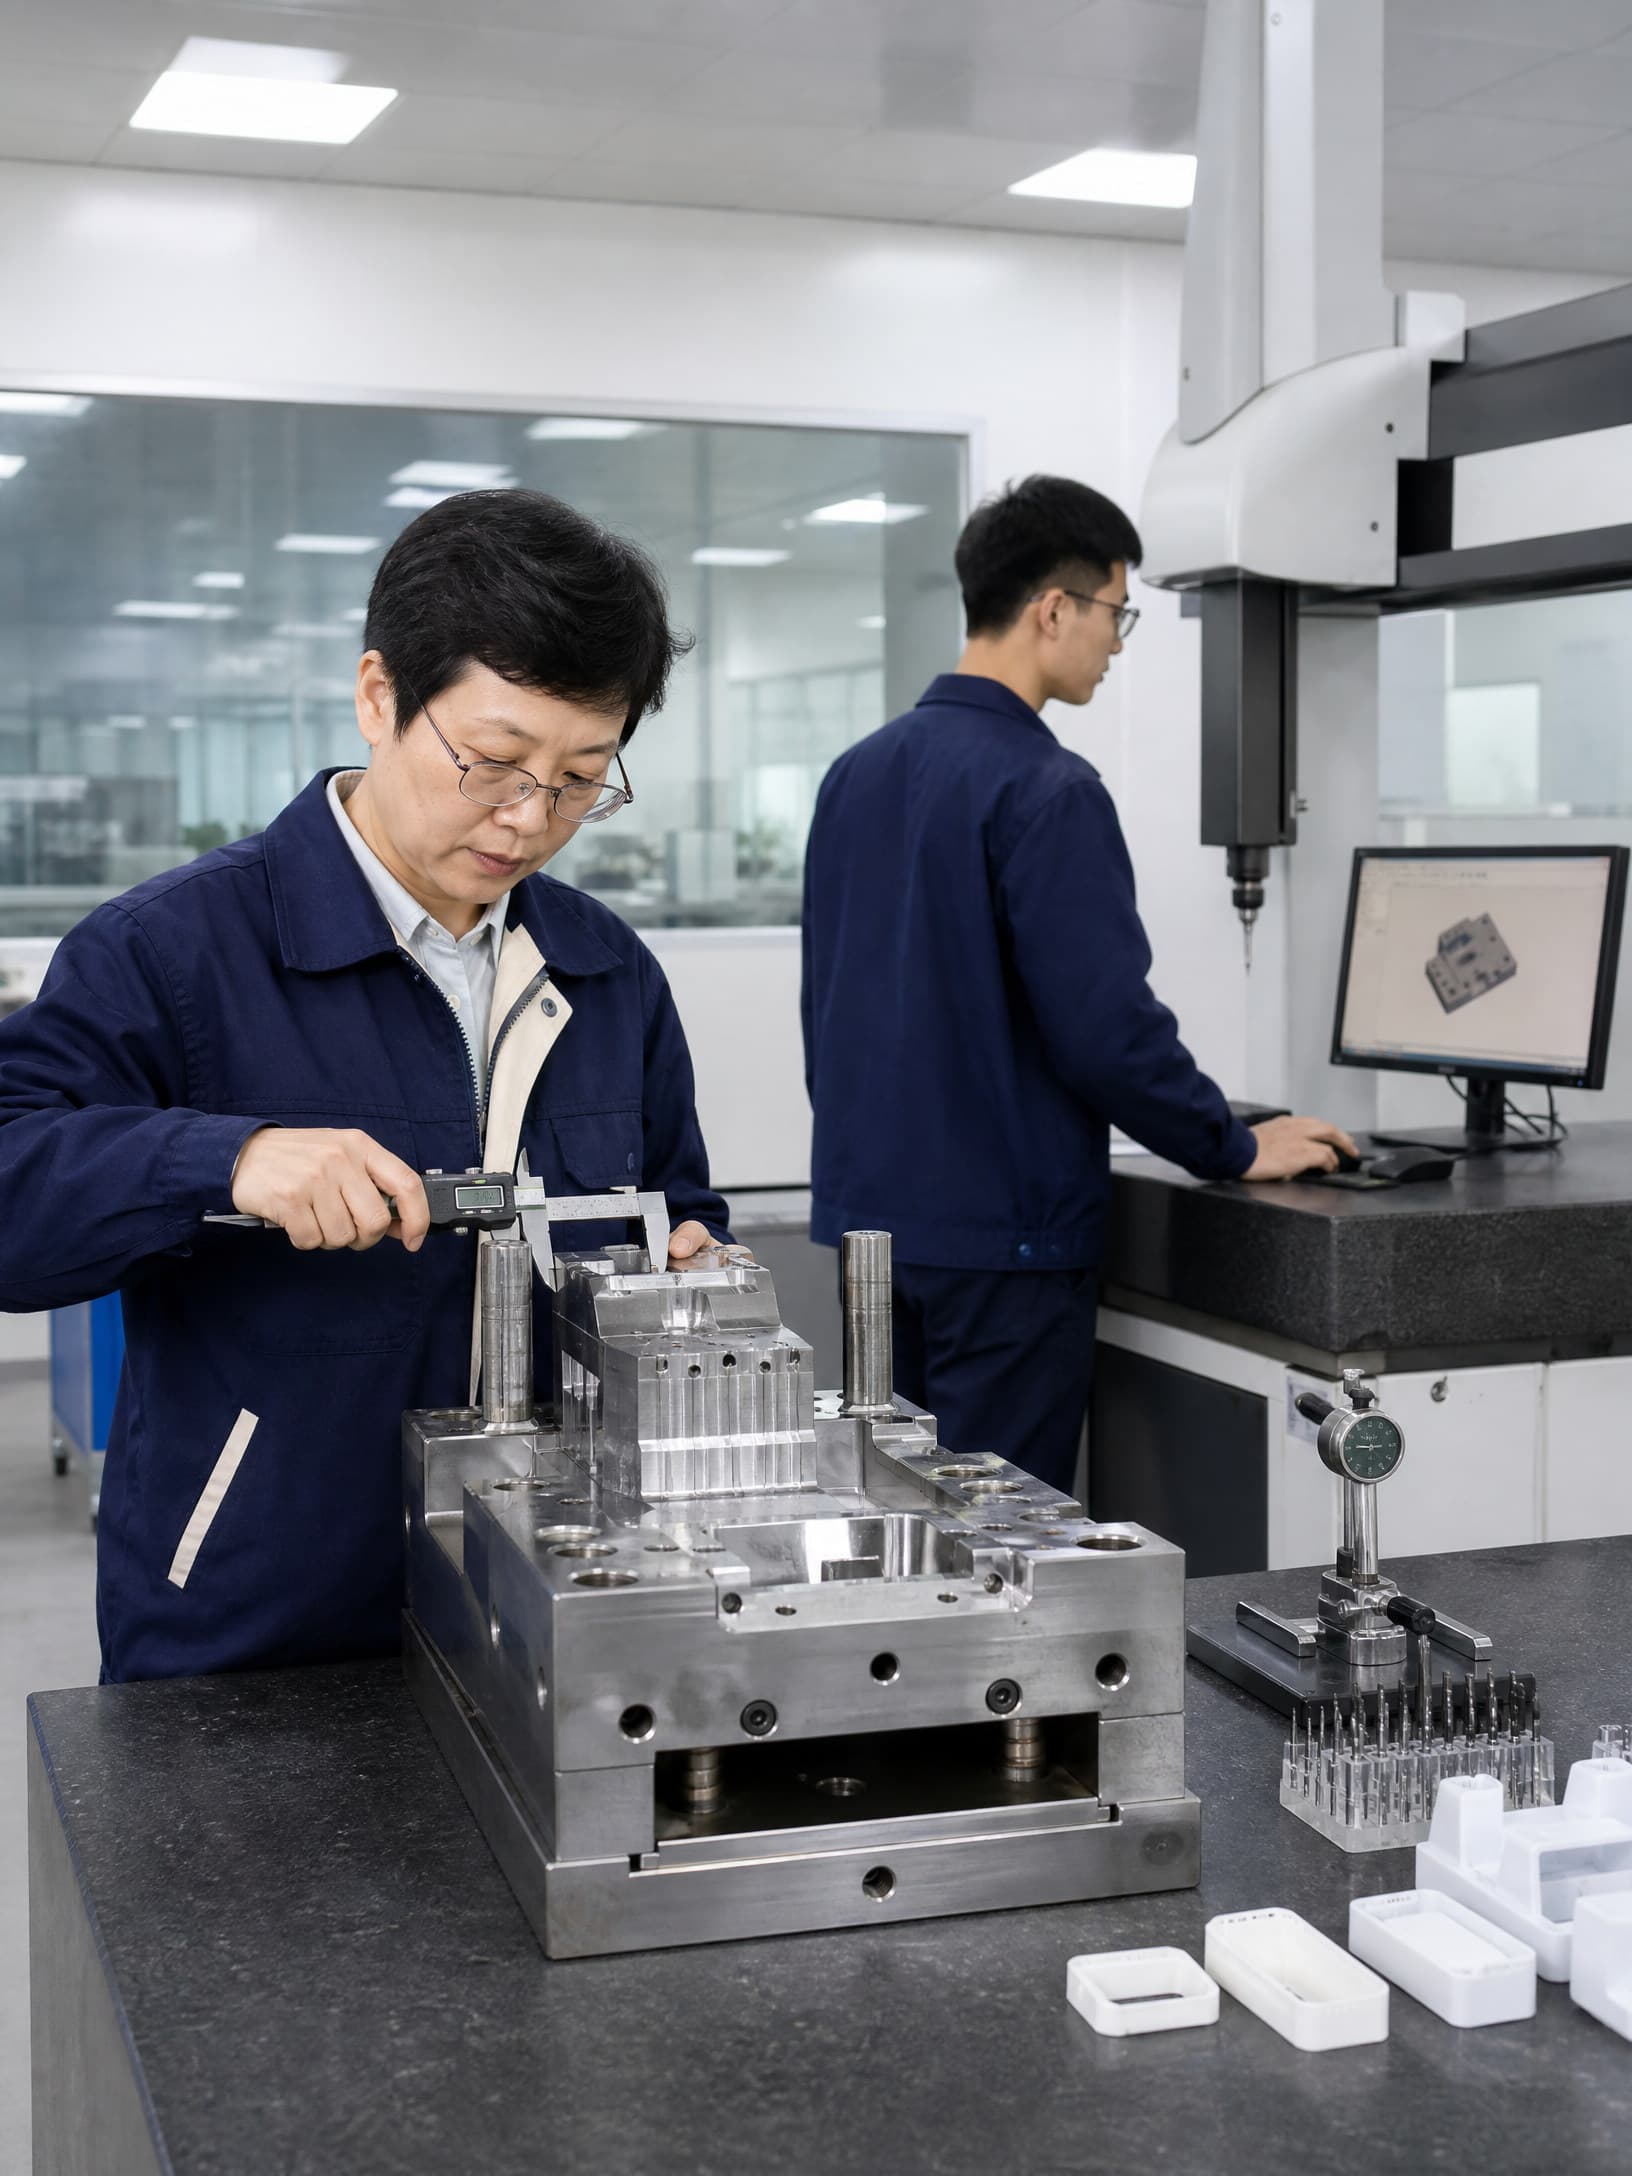
A kit is only valuable if the team knows when it may be used. Define who can approve a routine replacement, when engineering review is mandatory, and what evidence is needed after installation. Replacing a like-for-like seal may call for a leak or pressure check. Replacing an ejector, insert, shutoff or gate-related component may require dimensional, movement, safety and sample-part checks. The actual acceptance criteria should come from the tool drawing, product requirements and customer-specific controls.
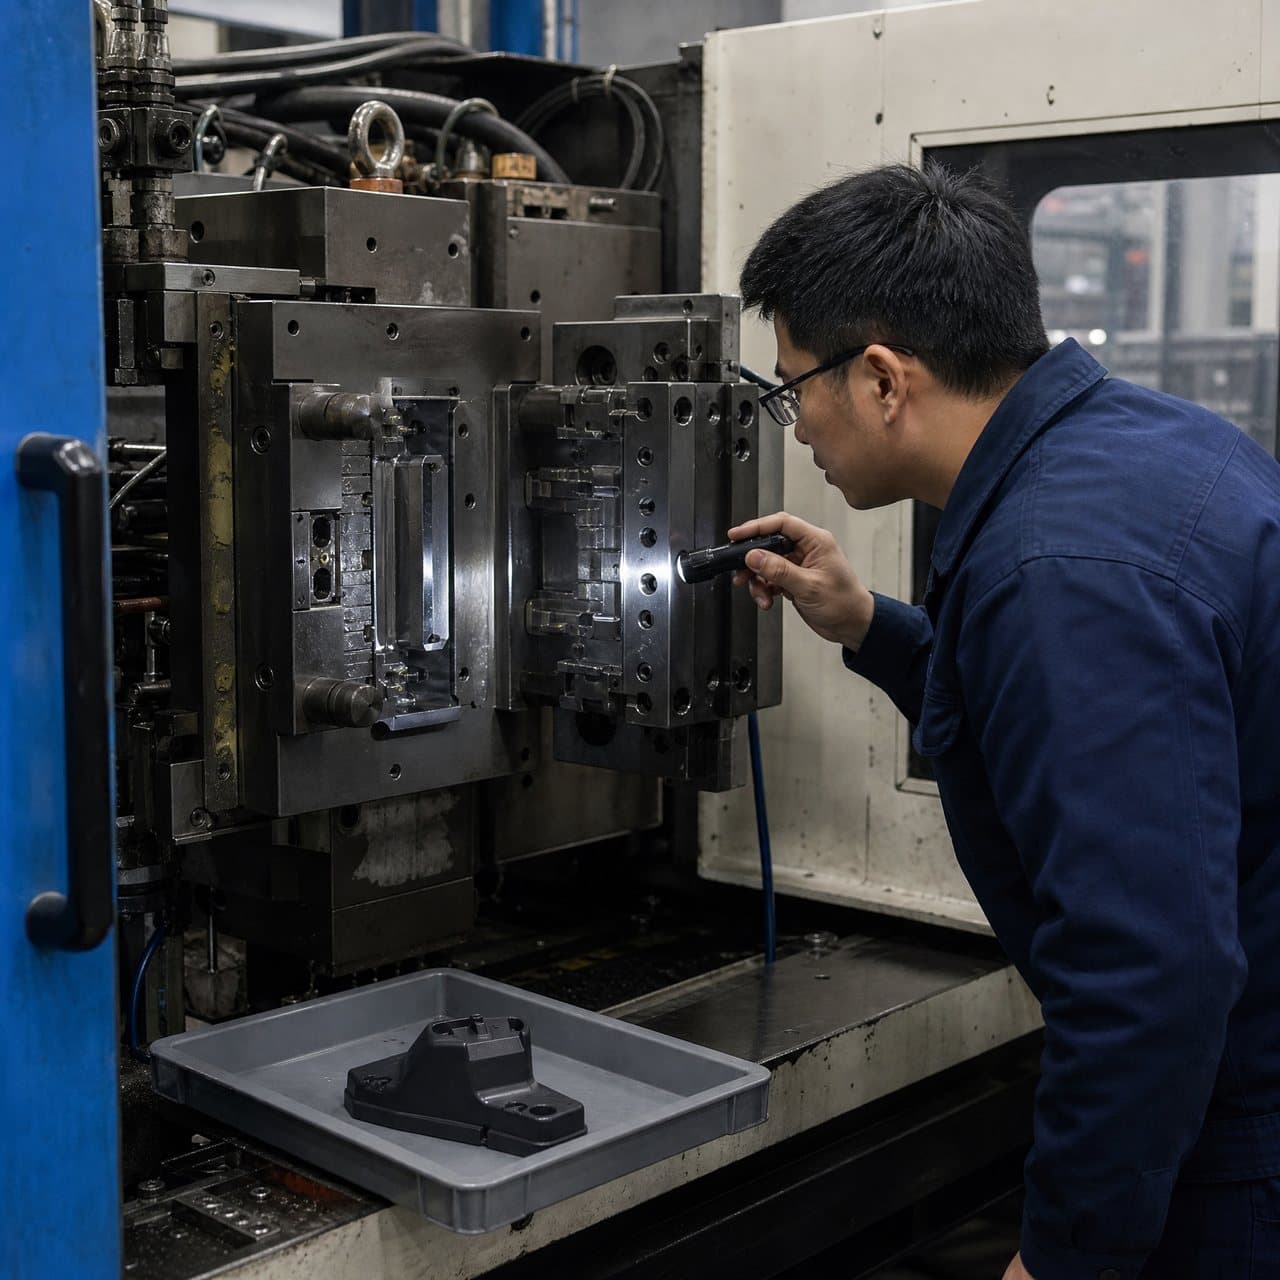
Use photographs and measurements before disassembly when orientation, stack height, cavity identity or timing could be lost. Clean mating surfaces, check for damage outside the replacement item and record any condition that suggests a wider cause. A repeated broken pin, loose fitting or leaking circuit should not be closed as a parts-consumption event without investigating alignment, lubrication, setup or wear.
After maintenance, record the dry-run or manual checks that are appropriate, then confirm the first production shots against the agreed criteria. For a higher-risk tool, plan a focused dimensional, visual or functional review before returning to normal release. The [quality](/quality) and [request-a-quote](/request-a-quote) routes are useful starting points when the spare part points to a broader repair, modification or validation question.
06
Buy the kit as a controlled service package
When requesting a quotation, provide the tool identification, assembly or component drawings, photographs, current revision, material direction, installed quantity, known failure history, storage expectations and desired delivery date. Ask for a line-item quote that separates parts, inspection, documentation, packing and any engineering work. This makes it easier to compare a complete kit with a lower-priced list that omits identification or verification.
Clarify ownership of drawings and replacement data, packaging for corrosion-sensitive parts, treatment of rejected items, warranty or remedy terms, and the notification route for obsolescence or supplier changes. If the kit is being prepared for a transfer, include it in the handover package rather than treating it as an informal add-on. The [FAQ](/faq) and [products](/products) routes can support early questions, but final fit, function and release decisions remain program-specific.
A practical commercial milestone is not simply ‘kit delivered.’ It is ‘kit received, reconciled to the packing list, inspected where required, stored under control and linked to a maintenance instruction.’ That definition gives procurement, maintenance and quality the same view of readiness.
Practical takeaway
Before you move
to the next review.
- The spare-parts register identifies each item by tool number, component reference, revision, quantity installed and quantity on hand.
- Critical spares are separated from consumables, and each proposed substitute has a documented technical basis and approval route.
- The kit specification states applicable material, hardness, seal, temperature, pressure, surface-finish and dimensional requirements without relying on appearance alone.
- Storage locations protect precision surfaces and identify released, quarantined, obsolete and returned items.
- Maintenance records capture the date, person, reason, part identity, quantity used and post-maintenance check.
- Replacement instructions define when engineering or quality review is required for inserts, shutoffs, ejection, hot-runner and cooling components.
- The quotation separates hardware, inspection, documentation, packaging and engineering work so competing offers can be compared fairly.
FAQ
Common questions
What should be included in an injection mold maintenance kit?
The contents should follow the specific mold’s risk and service history. Common categories include approved seals and fittings, selected ejection or locating components, tool-specific inserts or hardware, cleaning and preservation consumables, identification materials and the records needed to verify a replacement. A generic kit should not be assumed to fit a particular mold.
How many spare parts should a buyer hold?
Set the quantity from failure consequence, lead time, installed quantity, backup capacity and production urgency. A critical custom insert with a long replacement lead time may justify different protection from a standard fitting that can be sourced quickly. Review the level after failures, tool changes and supplier changes.
Can a standard component replace the original mold part?
Only after the responsible technical owner confirms the relevant interface and performance requirements. Check dimensions, material or treatment, hardness, clearance, seal compatibility, temperature and function. Record the approved equivalent or drawing revision rather than relying on a verbal fit claim.
Does replacing a spare part require a new mold trial?
It depends on the part and the product risk. A routine seal replacement may need a leak check, while an ejector, insert, shutoff, gate or hot-runner change can affect movement, dimensions, appearance or process stability. Define the post-maintenance check before the work begins and use customer-specific release criteria.
How should spare parts be stored for a customer-owned mold?
Use labeled, protected locations linked to the tool and component revision. Separate released stock from returned or quarantined items, protect precision surfaces, follow shelf-life or environmental instructions for seals and chemicals, and keep a transaction record when parts are issued or replenished.
References
Source material
- [1] D-M-E, “Mold Components” catalog.
- [2] International Organization for Standardization, “ISO 9001:2015 — Quality management systems — Requirements” (withdrawn page and current-edition notice).
- [3] Xometry, “Injection Mold Maintenance Checklist.”
- [4] Plastics Industry Association, “Mold Maintenance — A Guide to Maintaining Injection Molds.”
This guide is general information for early procurement and engineering discussion. It does not replace product-specific DFM, qualification, validation, regulatory assessment or legal advice.