
Injection molded LED lighting parts are rarely one material decision. A clear lens, a diffusing cover, a reflective insert, a heat-adjacent housing and a customer-facing trim can each have different optical, thermal, environmental and appearance priorities. The most dependable procurement route is to separate those functions early, then ask suppliers to quote against one controlled material-and-cosmetic brief rather than a generic ‘transparent plastic’ or ‘white housing’ description. This guide helps overseas OEM, procurement, quality and engineering teams make that brief testable before tooling release.
Requirement: define what the assembled lighting product must do and how it will be accepted. Recommendation: request resin identity, molded-part samples and traceable process evidence before release. A resin data sheet, an attractive first sample or a resin flame-test listing does not alone approve the finished lighting component.
01
Start with the component role, not a default resin
First divide the bill of materials by optical and non-optical function. A lens or light guide may be judged on transmitted or distributed light, visible defects and resistance to its expected service conditions. A diffuser may deliberately scatter light. A white reflector may prioritise controlled reflectance and coverage, while a black shroud may prioritise light blocking. A housing or bezel may instead be driven by fit, heat exposure, impact, mounting, wire routing and visible-surface expectations. One resin family is not automatically the best route for all of these jobs.
Polycarbonate, PMMA (acrylic), PC blends, PBT and other engineering thermoplastics can be candidates, but the selection should be specific to the grade and application. Material suppliers offer transparent, translucent, reflective, light-blocking, thermally conductive and flame-retardant polycarbonate grades for LED applications, illustrating why a generic material name is insufficient.[1] A clear optical part may need a different grade and processing discipline from an opaque structural part made from the same polymer family. Ask the product team to state whether light transmission, diffusion, reflectance, light leakage, impact, chemical contact, UV exposure, temperature, electrical environment or appearance is the primary design driver.
Requirement: document the actual operating environment, expected light source and optical path, assembly loads, mating materials, cleaning agents, outdoor or indoor exposure, and any customer or market-specific obligation. Recommendation: have the supplier identify material options and the assumptions behind each option. Suitability remains dependent on the exact resin, colorant or additive package, wall section, geometry, tool design, molding machine, processing window, annual volume and customer specifications.

02
Compare candidate material routes by the evidence they must support
Use the comparison below as an RFQ-screening tool, not as a universal performance ranking. It helps a buyer ask why a route is proposed and what must be checked on the molded part. The same resin family can behave differently by grade, thickness, pigment, diffuser package, recycled-content direction and processing history. Where the final light output or safety of the luminaire is important, test the proposed component in its intended assembly rather than extrapolating from a plaque or a supplier brochure.
For clear and diffusing planar plastic sections, haze and luminous-transmittance methods may be useful quality-control tools when they fit the component and acceptance plan. ASTM D1003 describes procedures for transparent plastics and notes that material specifications can take precedence over its default preparation and test conditions.[2] A complex lens, patterned optic or finished assembly may require a different agreed method. Define the measurement location, conditioning, instrument, sample orientation and acceptance authority before comparing supplier data.
| Component role | Typical material direction to evaluate | Cosmetic and functional questions | Supplier evidence to request |
|---|---|---|---|
| Clear lens or light guide | Optical-grade transparent polymer, often polycarbonate or PMMA subject to the service case. | Transmission, haze, yellowing risk, surface replication, scratch handling, gate location and weld-line visibility. | Exact grade and data-sheet revision; molded samples from the proposed tool/process; agreed optical and visual results; lot traceability. |
| Diffuse cover | A translucent or diffusing grade with the required light-spread intent. | Brightness uniformity, hot-spot control, light loss, wall variation, texture and visible flow patterns. | Approved diffusion target or assembly evaluation method; thickness range reviewed against the CAD; controlled color/additive direction. |
| Reflector or light-blocking shroud | Reflective white or opaque compound selected for the optical and thermal context. | Coverage, light leakage, color consistency, sink, gloss, weld lines and interaction with nearby LEDs or coatings. | Material identity; show-surface map; sample under defined illumination; any agreed reflectance or leakage evaluation. |
| Housing, bezel or trim | Structural polymer or blend selected for fit, environment and appearance; flame-retardant grade only where specified. | Heat-adjacent deformation risk, attachment features, texture, gloss, knit lines, ejector marks and assembly scratches. | Drawing-linked critical characteristics; resin declaration; cosmetic approval sample; assembly check and change-control plan. |
03
Specify cosmetic intent as a controlled acceptance condition
For lighting parts, cosmetic choices can affect both brand perception and light behavior. Clear glossy optics can make minor contamination, flow variation, gate vestige, weld lines, ejector marks and handling scratches conspicuous. A texture, frost, diffusion pattern or opaque color can reduce visibility of some features, but can also alter the optical effect or create a new appearance concern. Do not treat ‘high gloss,’ ‘frosted’ or ‘no defects’ as complete requirements. Map the visible faces, viewing distance, illumination, background, allowed witness marks and interfaces to adjacent parts.
Requirement: the customer or product owner should provide a controlled appearance standard, digital surface callout, material/color direction and a part-specific acceptance method. The standard should distinguish critical show surfaces from concealed surfaces and state whether the part is judged unlit, lit or both. Recommendation: request a tooling review that identifies likely gate, weld-line, vent, ejector and parting-line locations before steel release, then confirm that those locations are compatible with the visual map.
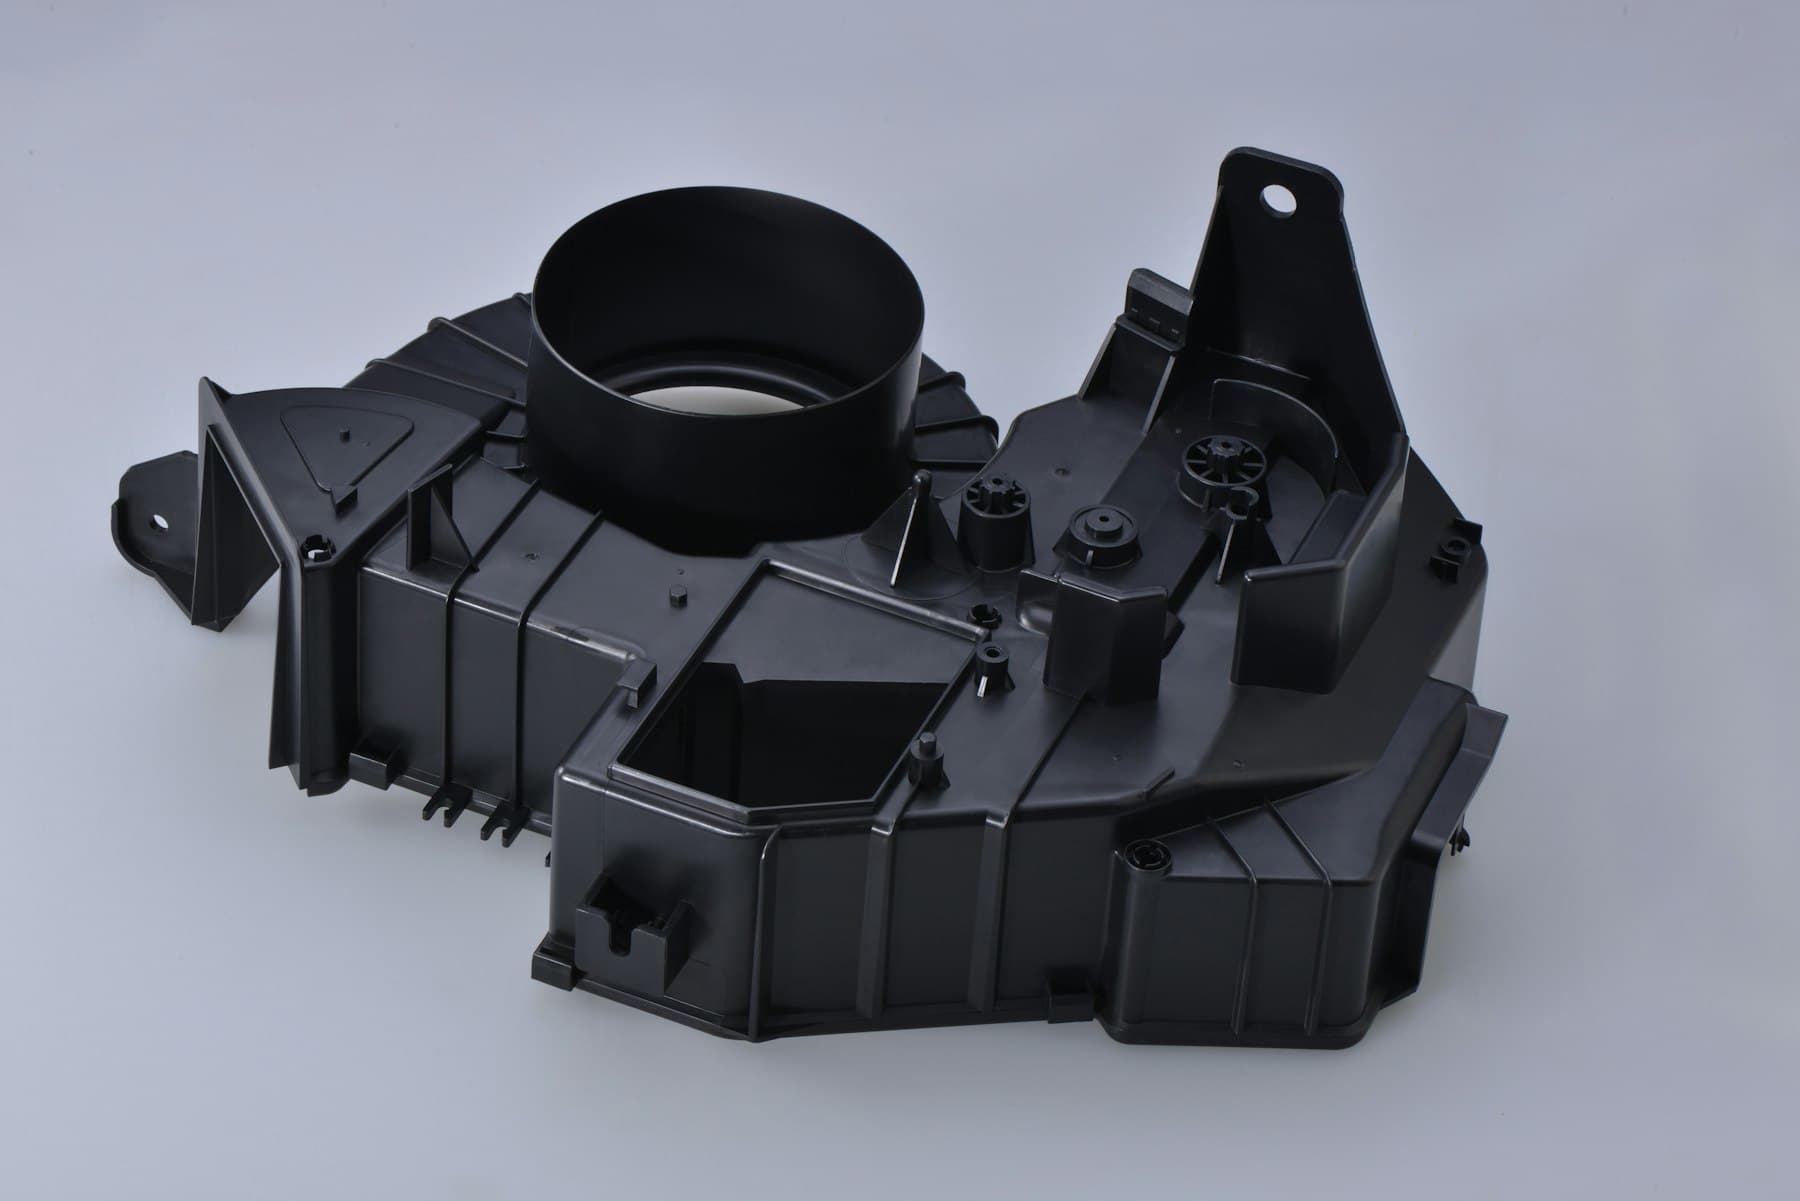
Use samples as evidence with context. Record the CAD and tool revision, cavity where relevant, resin batch or lot, color/additive direction, surface finish, machine/process context and inspection conditions. A photograph can help preserve a decision record, but its lighting and color rendering can make it unsuitable as the only cosmetic master unless the program has specifically validated that use.
04
Ask for the right supplier evidence before and after tooling release
A capable supplier response should make the assumptions visible. Before award, request a material proposal tied to the exact component role; product data sheets and, where relevant, declared flame-test information at the proposed thickness; a preliminary DFM that flags optical faces, wall transitions, gates, weld lines, venting, ejection and texture; an outline of material drying and handling controls; an inspection proposal; and an itemised list of open risks or customer decisions. This is evidence for a sourcing decision, not proof that the end luminaire is compliant with every market requirement.
Flammability needs especially careful wording. UL explains that UL 94 classifications describe the burning characteristics of material test specimens under controlled laboratory conditions and differentiate test methods and thickness-related conditions.[3] If a product requirement calls for a particular material or system property, ask for the exact grade, color and thickness basis, the source record and any limits on equivalency. Do not infer finished-product approval, electrical safety, market access or a certification claim from a generic ‘V-0 material’ statement. The product owner should determine the applicable standard, test plan and certification route.
Set approval gates that match the risk. A practical sequence is: gate 1—freeze the function, material direction and appearance brief; gate 2—approve DFM and tool surface/gate strategy; gate 3—review first molded samples with their traceability and dimensional/cosmetic results; gate 4—complete assembly, optical and environment checks required by the customer specification; gate 5—release production only after deviations, inspection records and change controls are accepted. The depth of each gate should reflect geometry, resin, tooling complexity, machine capability, volume and consequence of failure rather than a standard template.
05
Protect the optical and regulatory boundary in the final assembly
An optical component can change the performance of the full lighting system. Diffusers, lenses and projection optics may alter the accessible optical radiation compared with the LED source alone; CIE notes that optical elements and operating conditions can change the light path and that assessment of lamp-system hazards involves measurement of the system at points of human access.[4] Therefore, a molded lens or diffuser selection should not be presented as a photobiological-safety result. If the program has such a requirement, the responsible product team should define the applicable finished-product assessment with a competent laboratory or certification body.
The same boundary applies to weathering, chemical resistance, flame behavior, ingress protection and thermal performance. A resin data sheet can inform the starting hypothesis, but it cannot replace part-and-assembly validation under the customer’s actual conditions. Request samples built in the proposed resin and process; retain the evidence used for approval; and specify what changes to grade, source, colorant, diffuser package, mold texture, tool, process, cavity or manufacturing location require notice and renewed review.
For procurement, the goal is not to demand every possible test from every bidder. It is to make the supplier’s quote comparable, the customer’s requirements unambiguous and the release decision auditable. That approach reduces the risk of a low-cost material substitution or cosmetic interpretation becoming an unplanned product-level issue after tooling investment.

Practical takeaway
Before you move
to the next review.
- Classify each lighting component as clear optical, diffusing, reflective, light-blocking, structural or customer-facing trim, and state its primary function.
- Freeze the exact resin-grade direction, permitted colorant or additive package, customer specifications and any allowed equivalent-substitution route before quote comparison.
- Provide a visible-face map with finish, texture or gloss intent, viewing conditions, permitted witness-mark zones and an approval owner for lit and unlit appearance.
- Request supplier DFM, material records, tool/gate strategy, traceable sample results and an inspection proposal that matches the component’s actual risk.
- Use documented gates for DFM, first samples, assembly and required optical or environmental checks; define change triggers that reopen approval.
FAQ
Common questions
Which plastic is best for an injection molded LED lens?
There is no single best plastic. Optical-grade polycarbonate and PMMA are common starting points, but the choice depends on optical target, impact exposure, heat, UV or chemical environment, wall thickness, geometry, coating or assembly needs, processing and the customer specification. Compare exact grades and validate the molded component in the intended optical assembly rather than choosing from a family name alone.
Can a diffuser texture replace an optical material specification?
No. Texture can influence perceived appearance and light distribution, but it does not define resin identity, diffuser additive package, thickness, optical performance, environment resistance or change control. Specify the material direction and the required result separately, then validate a molded sample under the agreed viewing and operating conditions.
Does a UL 94 rating mean the molded LED housing is approved for every market?
No. UL 94 is a material flammability classification based on controlled test specimens and conditions. It does not by itself establish finished-product certification, electrical safety, end-use suitability or market access. Confirm the required product standard, material evidence, thickness and any finished-assembly evaluation with the responsible product owner and qualified assessment route.
What should a buyer approve before LED lighting mold tooling is released?
Approve the controlled CAD and critical interfaces; component function; exact material and additive direction; show-surface and texture map; preliminary gate, weld-line, ejection and venting strategy; inspection and sample plan; and the change-control path. Any remaining assumptions should be logged with an owner and a decision gate, not left inside an informal quote note.
References
Source material
- [1] Covestro, LED lighting material applications
- [2] ASTM International, ASTM D1003-21: Haze and luminous transmittance of transparent plastics
- [3] UL Solutions, combustion and fire tests for plastics
- [4] International Commission on Illumination, photobiological safety of lamps and lamp systems
This guide is general information for early procurement and engineering discussion. It does not replace product-specific DFM, qualification, validation, regulatory assessment or legal advice.