
An injection molding short shot is an incompletely filled part. In micro injection molding, it can appear as a missing thin wall, unformed microchannel or incomplete critical feature. Contain affected output, map the last-to-fill area, and require a controlled tool, resin and process study before restart. A pressure increase alone can conceal the cause while creating flash, stress or dimensional drift elsewhere.
Treat a short shot as a feature-level fill and process-control problem. The corrective action should show why the cavity now fills consistently, not only that one sample looks complete.
01
Contain the lot and describe the failure precisely
Segregate suspect parts by production time, cavity where relevant, resin lot and machine record. Photograph the feature under repeatable lighting against an approved sample or drawing. State whether it is always at the same micro-feature, differs by cavity, or follows a restart, resin change or maintenance event.
Confirm incomplete fill rather than ejection damage, a blocked passage from a secondary operation or an inspection artefact. Use a method with adequate resolution and documented viewing orientation. The acceptance basis is the agreed CTQ, not an assumed tolerance for every small edge.
02
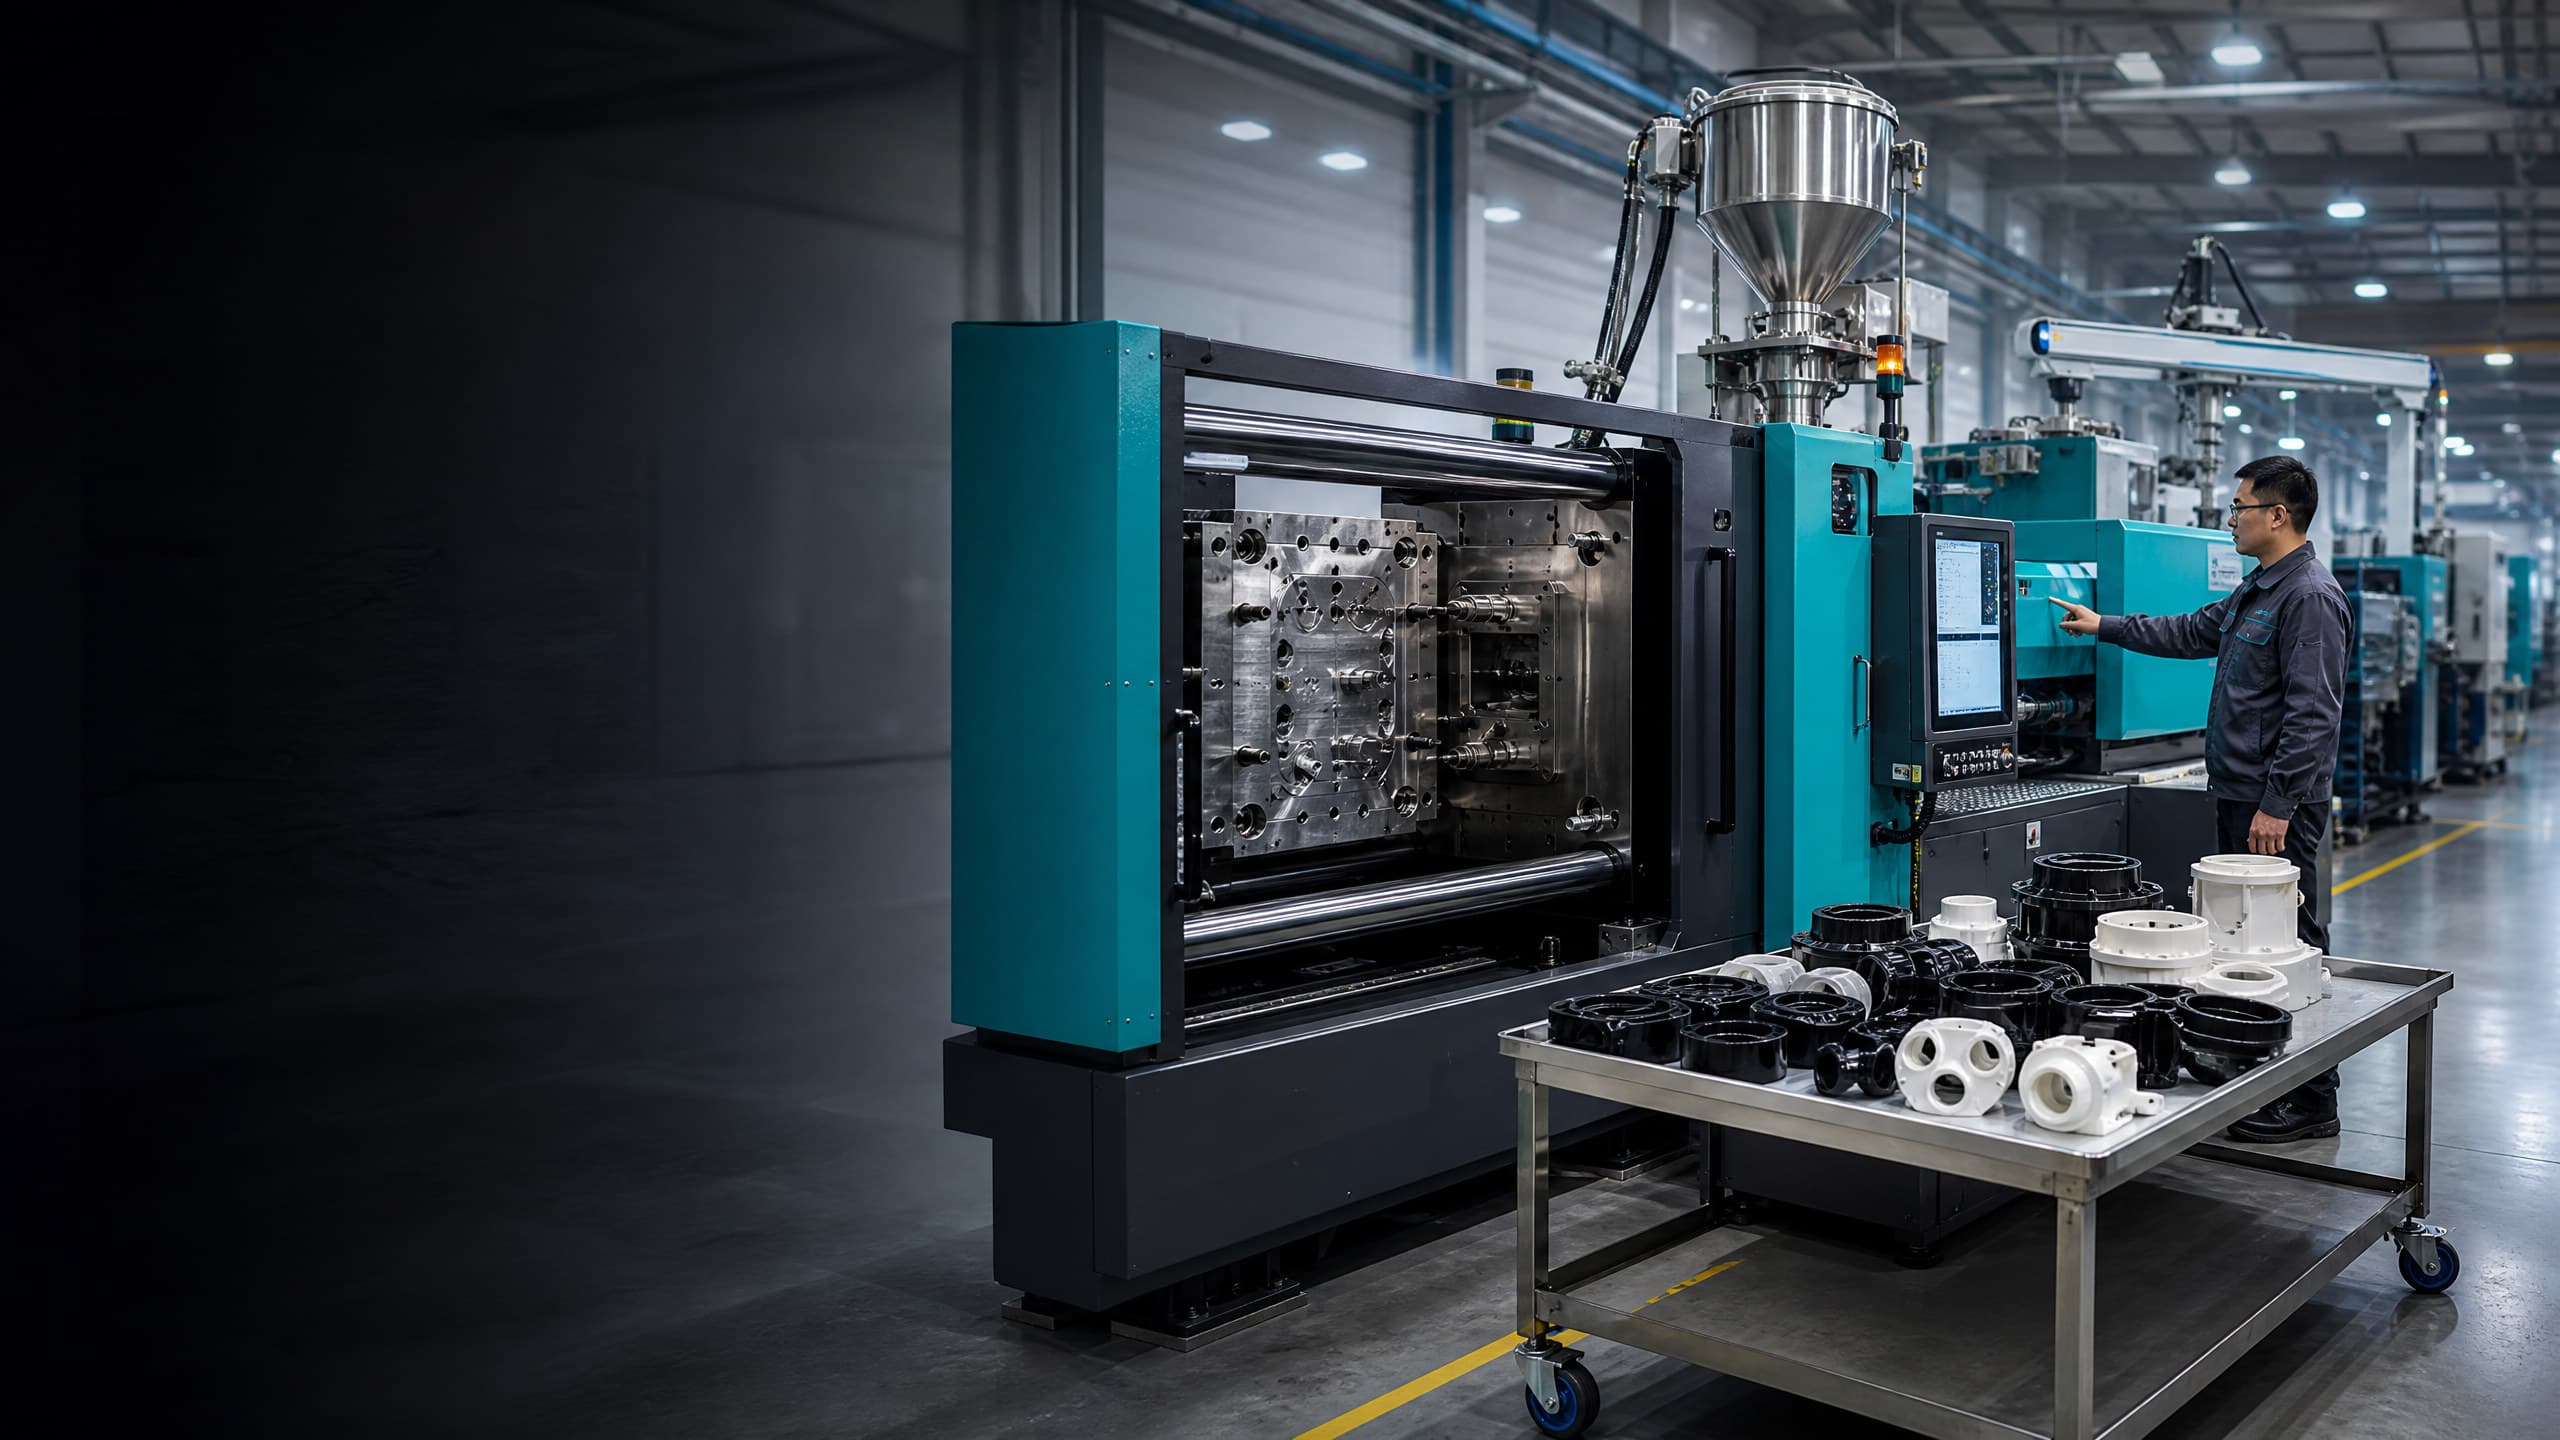
Use a fill-only study before changing the process window
Compare actual records with the approved set-up: material and drying history, melt and mold temperature, shot size, transfer position, fill time, pressure limit, cushion, pack profile and cycle time. A pressure-limited process cannot hold intended fill velocity as resistance rises. Material variation, a blocked gate, poor venting and mechanical faults can all cause a short shot [1].
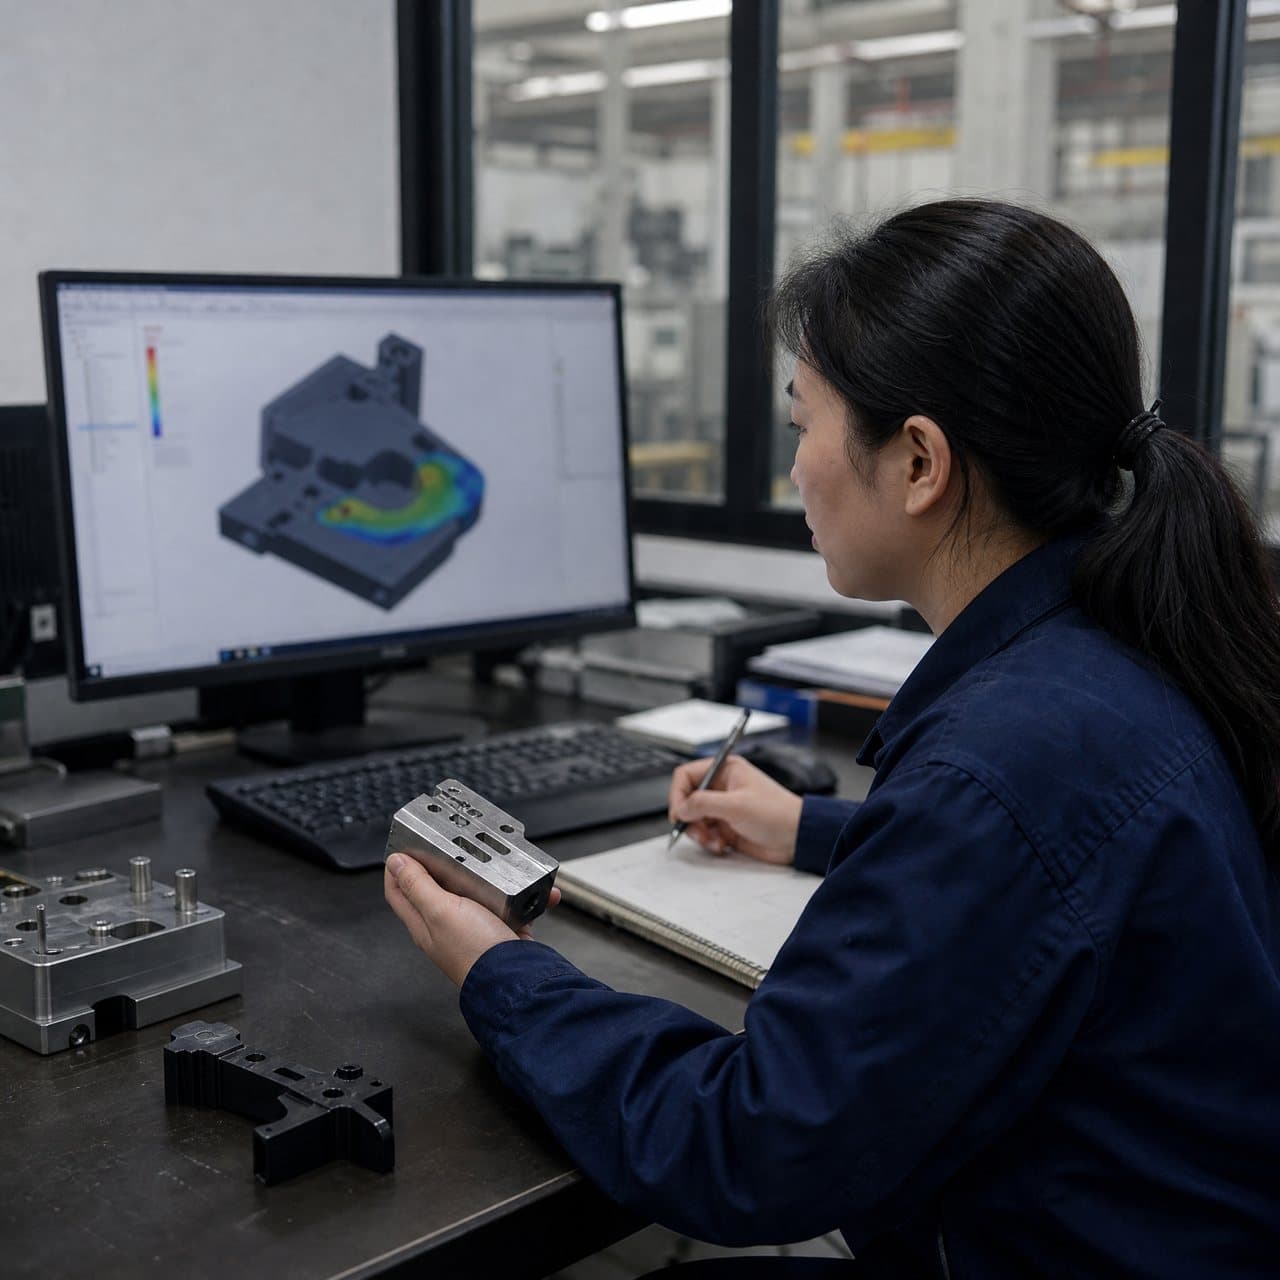
A controlled fill-only or progressive short-shot study, with pack and hold safely removed or reduced, reveals the advancing flow front. Use an agreed plan, labelled samples and recorded settings. Locate the last area to fill and compare cavities; do not apply a universal “99% full” rule. Reapply pack after understanding the flow path, then compare mass and CTQ results with the approved condition.
03
Review the gate, runner and vent path at feature scale
Gate and runner restrictions matter disproportionately with a small shot. A restrictive, contaminated or prematurely frozen gate can starve the cavity. A larger gate can change shear, vestige, packing, orientation and shrinkage. Locate it to shorten the difficult path and avoid splits around cores before a critical feature. Demonstrate runner balance across cavities because imbalance can create weight and dimensional variation [2].
Inspect gate land, runner, shutoffs and vents against the released tool design and maintenance record. Vents must let air leave at last-to-fill regions; inadequate venting can cause short shots, poor appearance and weak weld lines [2]. Micro ribs, blind pockets and microchannels may trap air even when the main cavity fills. Repeated vent fouling needs a material, contamination or maintenance explanation.
Published microfluidic molding work shows the trade-off: a narrow pin gate increased predicted pressure, and a larger gate was needed to keep predicted shear within the study limit. It also found that trapped-air counterpressure can make feature-level filling differ from simulation [3]. Use simulation to compare options, then confirm with trials.
| Observed pattern | Likely mechanism to test | Evidence to request | Buyer decision |
|---|---|---|---|
| Same tip or microchannel is short | End-of-fill air trap, gate freeze or local flow restriction | Fill-only sequence, vent inspection record and feature images | Do not approve a pressure-only adjustment |
| One cavity is short | Runner imbalance, cavity-specific gate restriction or vent condition | Cavity-labelled mass and dimensional results | Require cavity-by-cavity containment and correction |
| All cavities become short after resin change | Viscosity, moisture, drying or material-handling variation | Lot traceability, dryer log and approved resin comparison | Restore the validated material condition before release |
| Short shot follows maintenance or restart | Set-up drift, blocked flow path or incorrect component assembly | Before-and-after settings, tool maintenance and restart samples | Verify the approved set-up and tool condition |
04
Separate material and machine variation from design limitations
Resin grade, colorant, additive package, regrind policy and moisture condition can change flow. Request the exact material designation, lot traceability and documented drying condition. Do not accept a substitution merely because a part fills; it can alter shrinkage, dimensional stability, performance or approval obligations.
Check the actual shot against the machine’s controllable range. In micro injection molding, small changes in delivered volume or transfer can be significant relative to feature volume. Demonstrate repeatability with recorded actual values, not nominal setpoints. A persistently narrow window is a manufacturability finding that may require a design, gate or tool change.
05
Validate the corrective action with part-specific evidence
An injection molding process validation plan should define the defect, cause hypothesis, controlled variables, acceptance criteria and sample identification before settings change. Change one factor at a time for targeted diagnosis, or use a planned experiment for interactions. Retain original, trial and selected conditions. Link the eliminated short shot to stable pressure, fill-time, cushion and mass trends.
Inspect samples for more than visual fill. Measure the micro-feature and adjacent datums after agreed conditioning using a suitable method. Review mass, key dimensions, cosmetics and functional fit by cavity where relevant. No universal micro-molding tolerance is credible; capability depends on geometry, resin shrinkage, tool construction, measurement uncertainty and the validated window. Evidence must support the drawing requirement.
06
Protect capacity, tool life and change control
Do not turn an emergency setting into a production standard without checking consequences. Extra pressure, temperature or hold can increase flash, stress, gate and shutoff wear, or cycle-time pressure. A gate or vent revision can improve filling while changing degating, balance or dimensions. State the tool and process revision and required release evidence.
For multi-cavity work, validate at planned production cadence and across intended cavities. A micro part does not automatically mean high output, and a tool-life assertion is no substitute for maintenance and wear monitoring. Align forecast, inspection frequency, spares or maintenance, and change notification with corrective-action evidence.
07
Make supplier collaboration an RFQ requirement
European, US and Middle East teams can reduce disputes by specifying RFQ evidence: CTQs and datums, approved resin and color, the short-shot definition, sampling by cavity, measurement format, and process or tool-change authority. Define identification of nonconforming material and record retention. This makes injection molding defect analysis a controlled decision path.
For a new micro part, request an early DFM and flow-path review covering gate options, end-of-fill locations, vent access, ejection and measurement. Send 3D model, drawing, material designation, annual and batch demand, critical features, mating parts and approval requirements. Ask the supplier to identify manufacturability risks rather than assume they will disappear at first trial.

Practical takeaway
Before you move
to the next review.
- Quarantine and identify suspect parts by date, cavity, resin lot and process condition.
- Define the incomplete feature against a drawing CTQ, approved sample or functional requirement.
- Request a controlled fill-only or progressive short-shot study with labelled samples and recorded settings.
- Review actual gate, runner, vent and cavity condition against the released tool design and maintenance record.
- Check resin designation, lot traceability, drying history and any regrind or colorant change.
- Require cavity-by-cavity mass and feature measurement after the proposed corrective action.
- Approve a restart only with documented process limits, change revision and agreed ongoing inspection evidence.
FAQ
Common questions
What is an injection molding short shot?
It is a part that did not completely fill before the melt froze or flow was restricted. In micro injection molding, the missing area may be a very small channel, rib, corner or replicated surface feature.
Can more injection pressure always fix a short shot?
No. More pressure may temporarily fill a feature, but it can also create flash, stress or dimensional change. First establish whether the cause is air trapping, gate restriction, material condition, machine limitation or another issue.
Why are micro features more vulnerable to short shots?
Their small cross-sections lose flow margin quickly. Local cooling, trapped air, a restrictive gate or a small change in delivered shot can become material relative to the feature volume.
Should a buyer accept simulation as proof that the micro part will fill?
Simulation is useful for comparing gate locations and flow risks, but it is not final proof. Verify filling, dimensions and feature replication with controlled trials and suitable inspection evidence.
What evidence should accompany a corrective action?
Request the defect description, cause investigation, trial settings, tool or process revision, material and maintenance records, cavity-labelled samples, CTQ measurements, and defined release limits for production.
References
Source material
- [1] RJG, How to Prevent and Troubleshoot Short Shots
- [2] Avient, Injection Molding: Mold Design
- [3] ASME Journal of Micro- and Nano-Manufacturing, Gate Design in Injection Molding of Microfluidic Devices
This guide is general information for early procurement and engineering discussion. It does not replace product-specific DFM, qualification, validation, regulatory assessment or legal advice.