
Cycle time is the elapsed time from one molding cycle to the next. It includes filling, pack or hold, cooling, mold movement, ejection and any required handling. For a buyer, a shorter cycle can improve available capacity and may influence unit economics, but it is not automatically a better process. A change that releases the part before it is stable, shortens packing before the gate seals, or accelerates handling beyond a safe window can convert apparent output into scrap, sorting and customer risk.
The practical objective is not to demand a target number of seconds. It is to identify the limiting phase, make one controlled change at a time, and accept the change only after the agreed critical-to-quality characteristics remain capable for the actual resin, tool, press and production conditions. This approach is useful for OEM and distributor teams in Europe, North America and the Middle East that need evidence they can compare across an overseas supply chain.
Treat a cycle-time reduction as a process change: define the baseline, isolate the change, inspect the risk features, and approve only against part-specific acceptance criteria.
01
Start with a measured cycle map, not a requested percentage
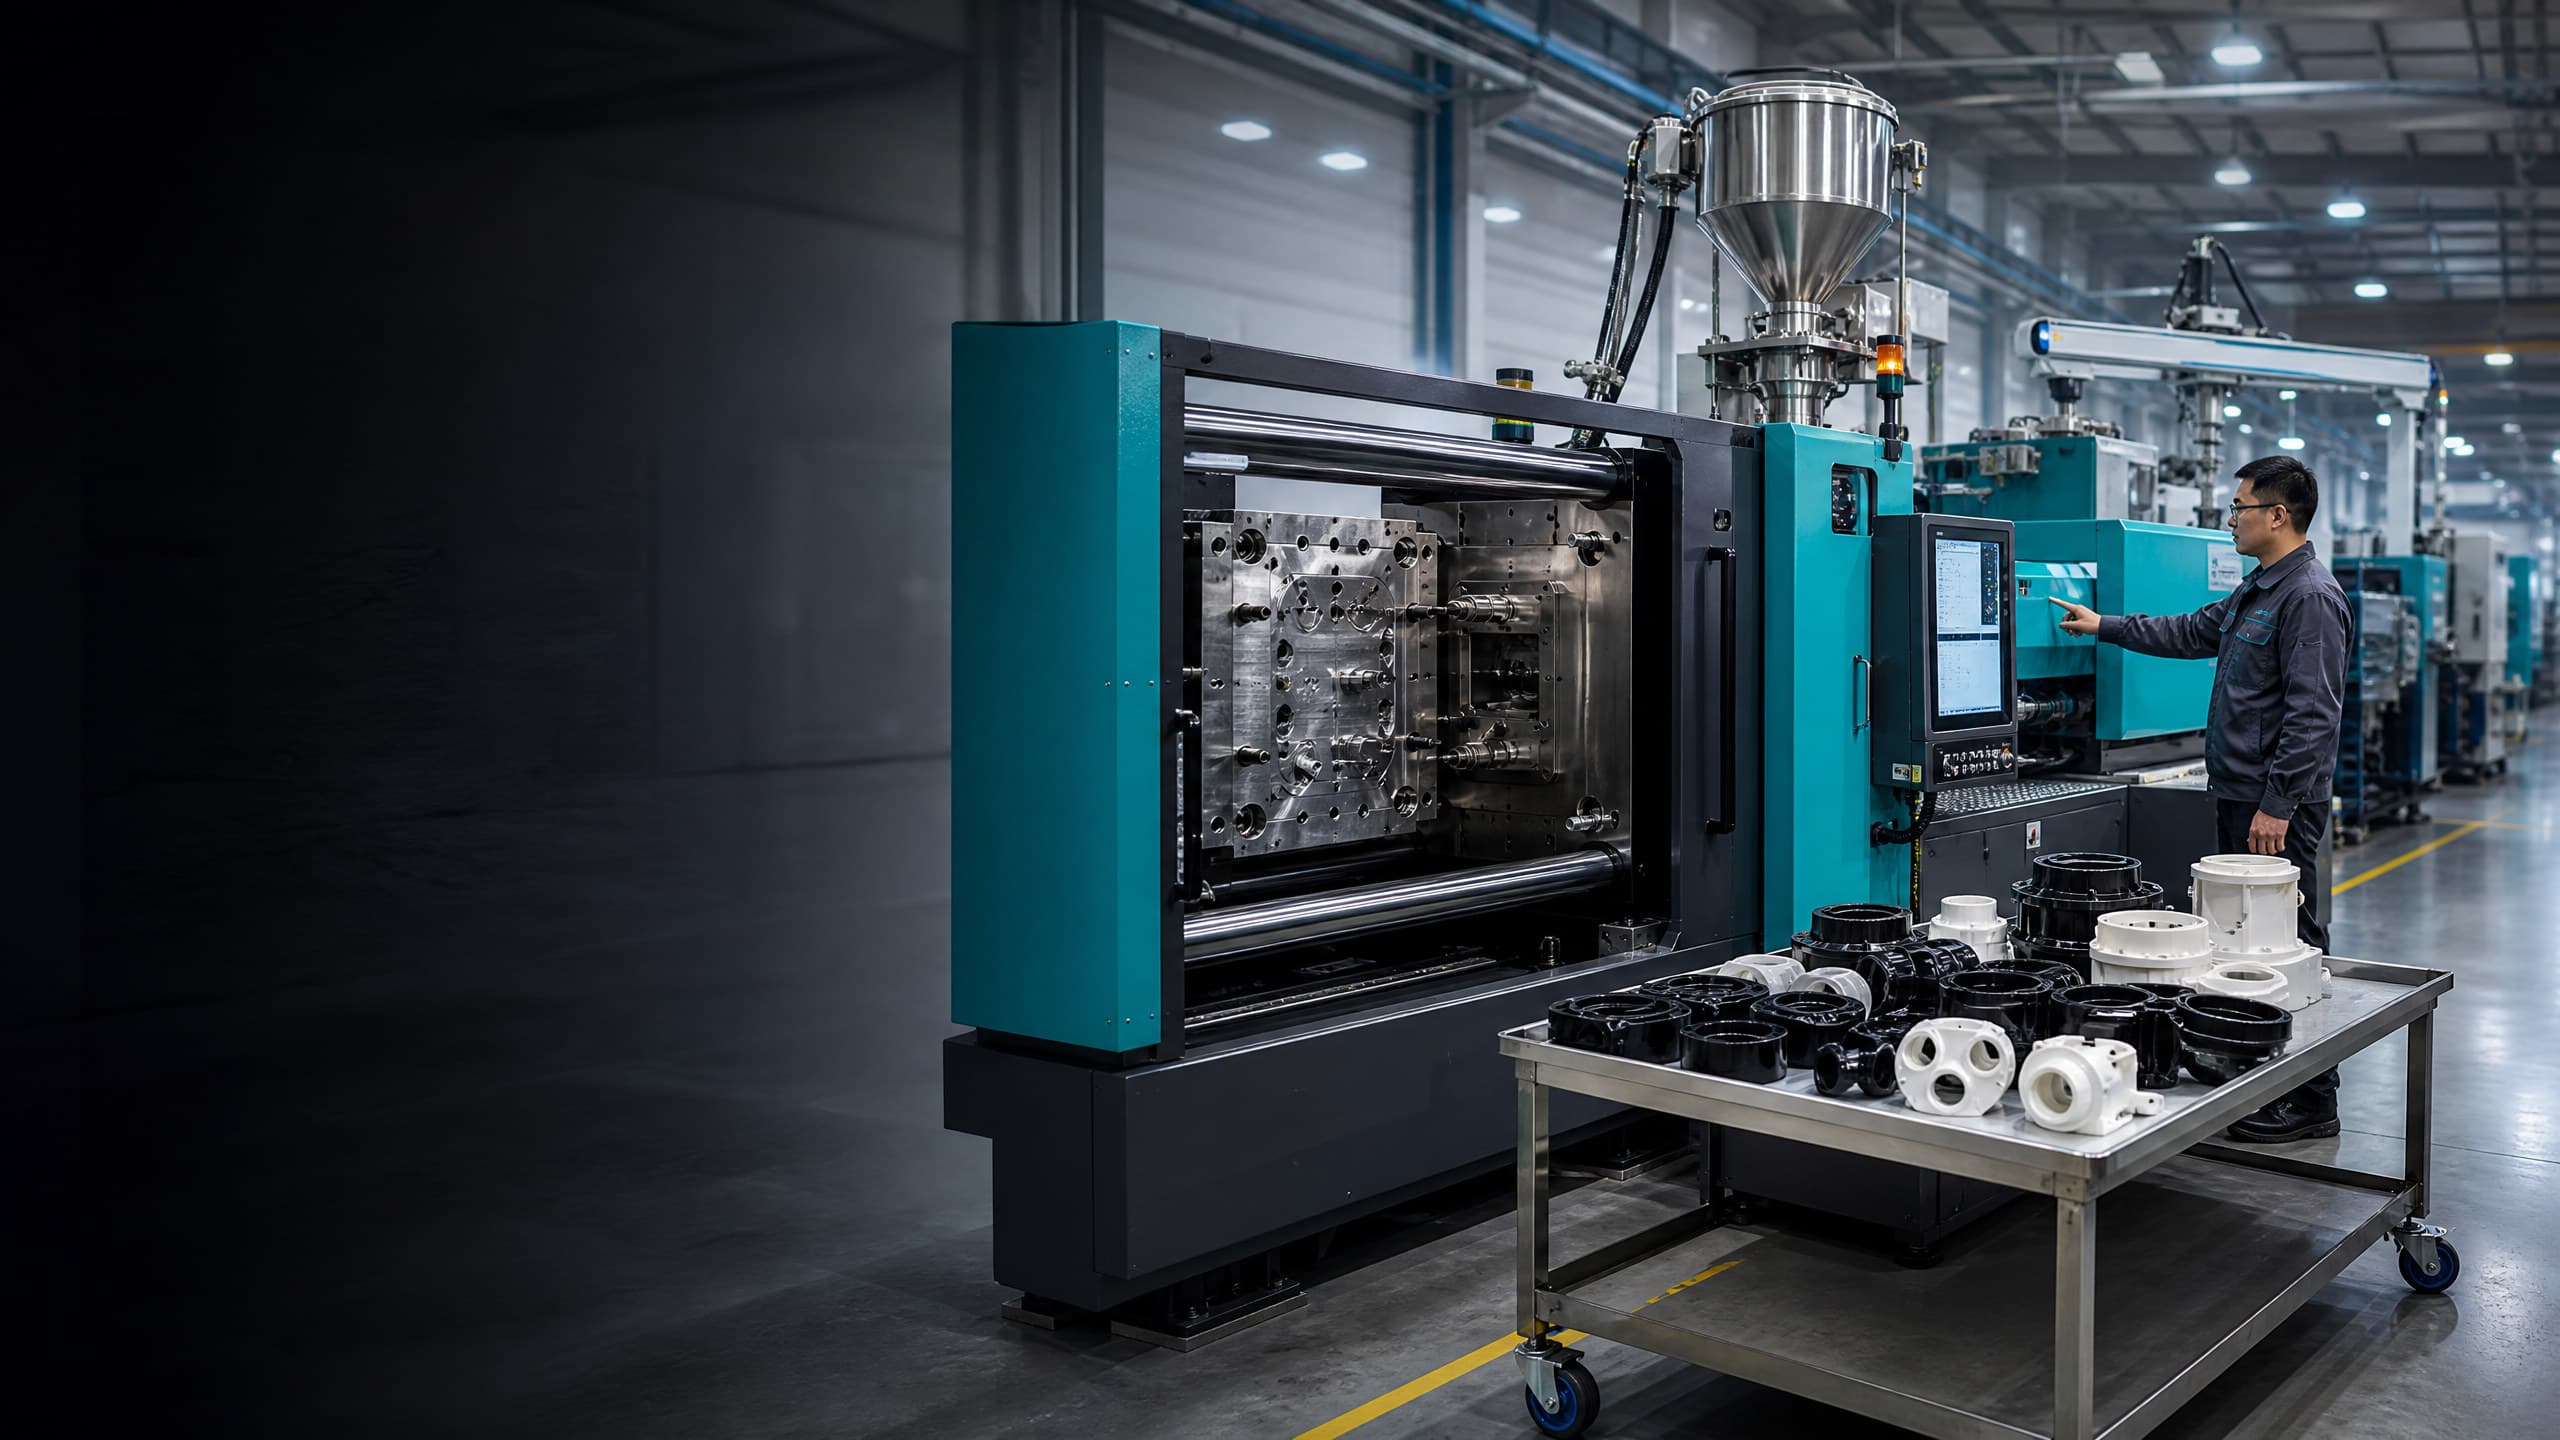
Ask the molder to time and record the cycle stages separately: fill, pack or hold, screw recovery where relevant, cooling, mold opening, ejection, closing, robot movement and manual actions. The useful baseline also records resin grade and lot controls, actual melt and mold temperatures, cooling-water supply and return conditions, cavity count, rejects, downtime and the inspection plan. A single average cycle number can hide a slow robot move, unstable cooling circuit or cavity-to-cavity difference that deserves attention first.
The common technical model is total cycle time = intermediate time + injection time + cooling time. Intermediate time includes opening, closing, removal and insert-related work; injection time includes filling and the material needed to compensate shrinkage; cooling time is the period needed for the part to withstand release without ejection damage or strain [1]. For parts with slides, lifters, inserts or post-mold handling, document those motions rather than assuming a press setting describes the full cycle.
For a multi cavity mold, request a cavity-level view when the part is quality-sensitive. A faster nominal cycle is weak evidence if one cavity begins to stick, flash, warp or drift in mass while the average output appears acceptable. The buyer should define which dimensions, appearance zones, fit features and functional tests are reviewed before and after the change.
02
Focus first on heat removal and part geometry
Cooling is often the largest addressable share of a molding cycle, but the safe ejection point depends on wall thickness, resin thermal behavior, part shape, support during ejection and pin locations. Toray notes that cooling-time estimation depends on maximum thickness, polymer temperature conductivity, mold temperature and a part-specific ejection temperature; for thicker parts, the relevant temperature may be below the surface rather than at the center [1]. This is why a timer reduction alone is not a cooling strategy.
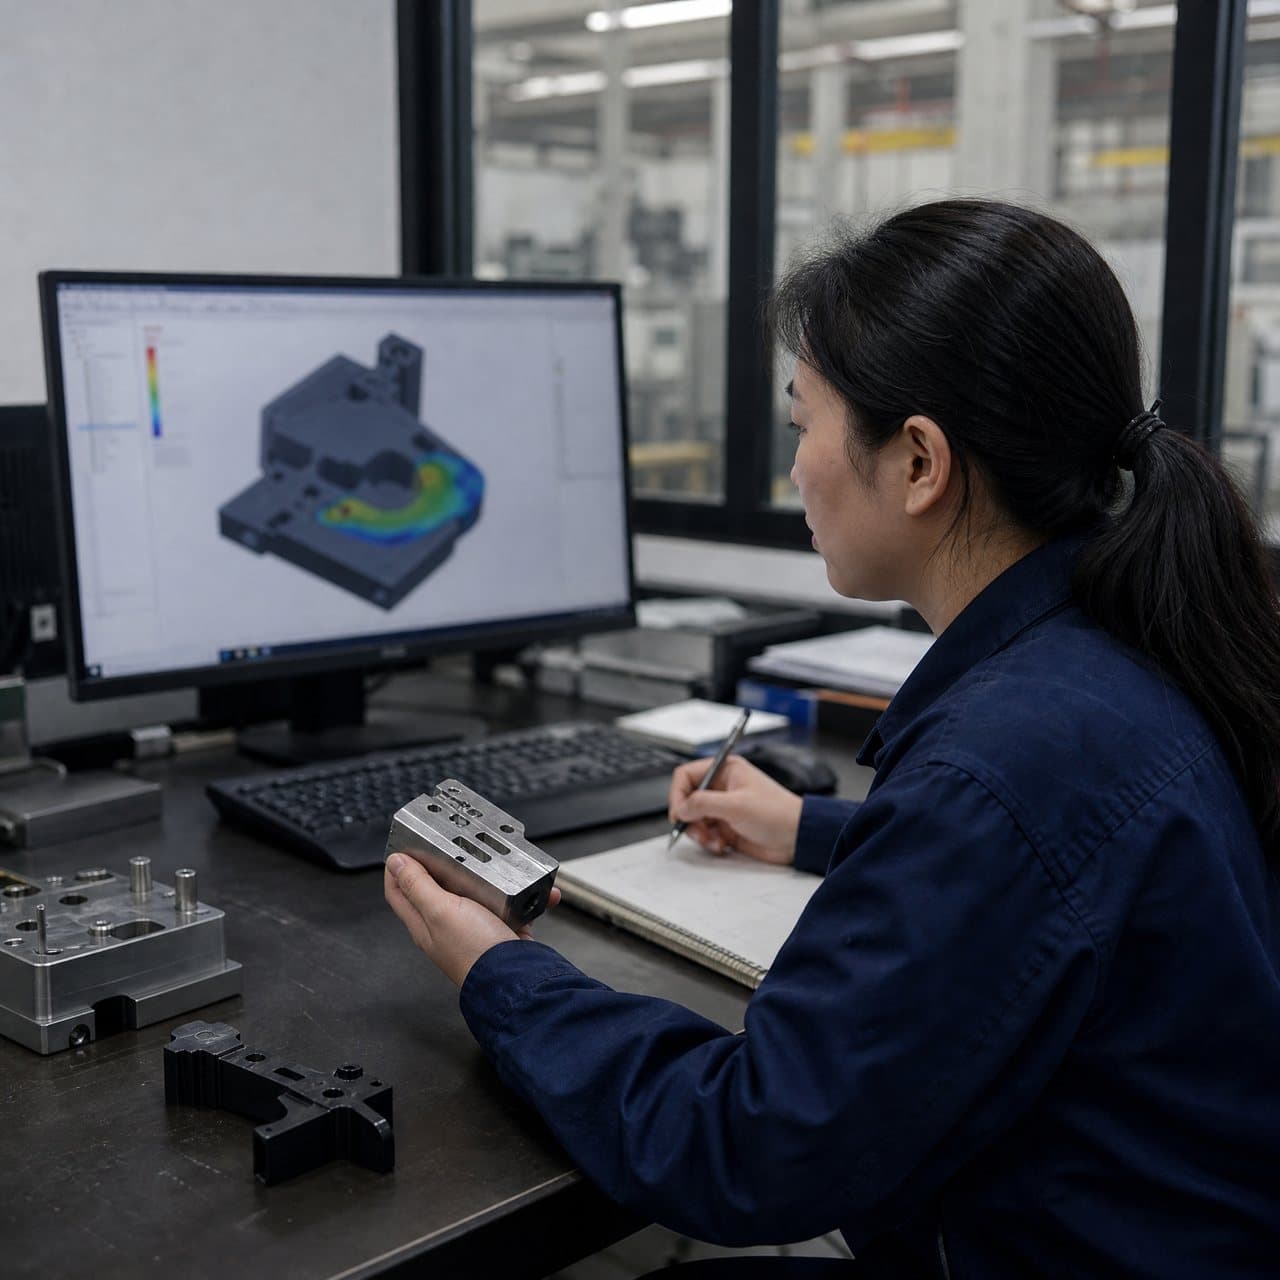
Review injection mold cooling design with the molder: circuit layout, proximity to heat-loaded areas, coolant flow and temperature balance, deposits or restrictions, and return-water evidence. Uneven heat extraction can create warpage, localized shrinkage, gloss variation or a part that looks acceptable at ejection but changes after conditioning. Thermal analysis, mold-temperature monitoring or a controlled trial can help prioritize modifications, but they do not replace production-representative samples and inspection.
Where the program is still in design, uniform sections and removal of isolated heavy masses often offer more robust cycle improvement than trying to force a colder process. Material changes, conductive inserts, revised circuits or conformal cooling may be options, yet each changes tooling, process or material assumptions and needs its own feasibility review. Do not equate a thinner feature or lower mold temperature with universal suitability for a specific cosmetic or functional requirement.
03
Shorten pack, fill and motion only after their quality function is proven
Hold time replaces material as the gate freezes. A gate-seal study can establish the minimum hold time for the particular tool and resin: run a stable process, step the hold time down under controlled conditions, and compare part mass with the defined appearance, dimensional and functional checks. Plastics Technology describes using a part-weight change to identify the point at which hold becomes insufficient, then confirming the setting rather than treating a shorter value as a production instruction [3]. Weight alone is not a complete acceptance test, especially for cosmetic surfaces, sealing interfaces or assemblies.
Fill can sometimes be shortened by improving the process window, venting or runner balance, but faster filling may increase shear, air trapping, burn marks, jetting or weld-line sensitivity. Confirm the approved fill profile, transfer point and pressure behavior with the molder. A hot runner mold can reduce runner handling and may support a different cycle architecture, but it also adds temperature-control, gate and maintenance considerations. It is a program-specific engineering decision, not a guaranteed shortcut.
Review non-cooling time with the same discipline. Ejection stroke, ejector speed, mold open distance, close profile and automated injection molding sequences can be trimmed when parts release reliably and the tool is protected. Check for pin push, cracking, sticking, part drops, robot interference and safety interlocks. The fastest dry cycle that damages a texture, inserts a stress crack or raises mold-maintenance exposure is not a quality-preserving gain.
04
Validate the new setting and control it after approval
Use a documented trial rather than changing several settings during a live shipment. Establish a baseline at the existing qualified setting, change one factor or a defined engineered package, allow the process to stabilize, and retain clearly identified samples. RJG emphasizes that wall thickness, material selection, mold design and processing all affect cooling; it also cautions against setting cooling only at a theoretical deflection limit because incoming-material and machine variation must be considered [2]. The right safety margin is part-specific and should be agreed from evidence, not copied from another tool.
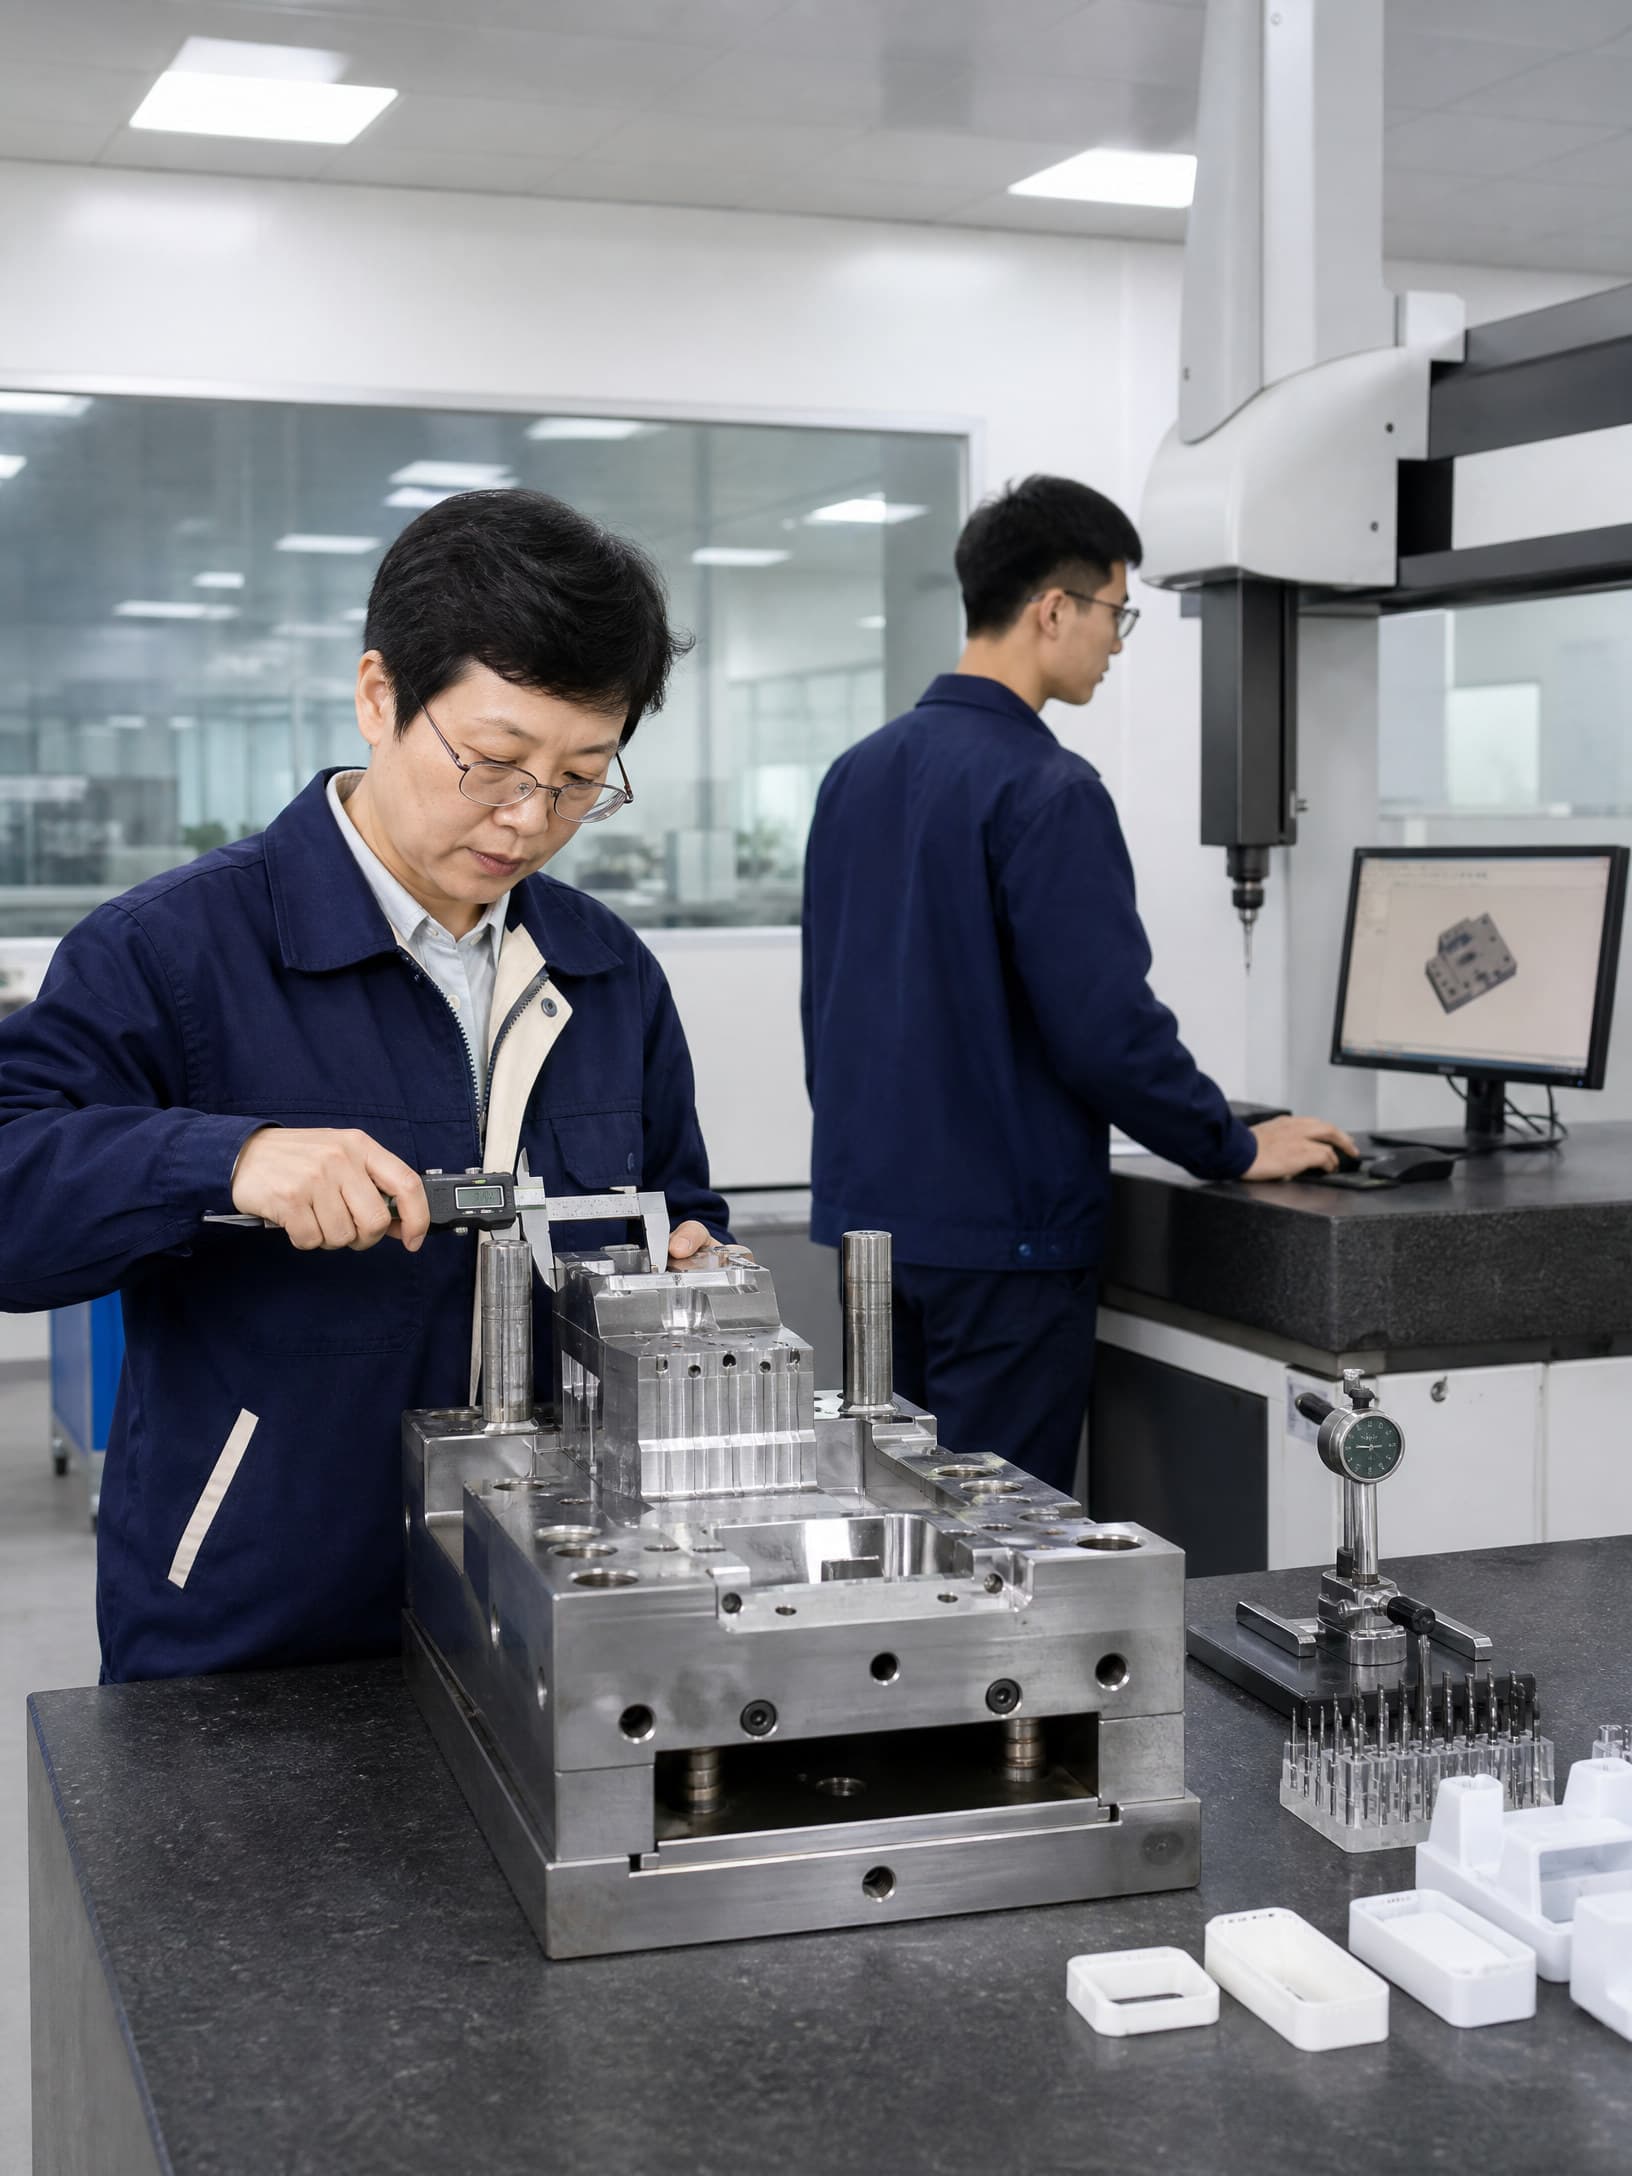
The injection molding process validation record should show the old and proposed cycle, actual process readings, material identification, cooling conditions, cavity coverage, sample size rationale, inspection results and any functional or assembly checks. Include a defined observation period when post-mold shrinkage, deformation, gloss change or stress-related issues are plausible. For regulated or customer-controlled programs, follow the applicable customer procedure rather than assuming this article supplies a submission standard.
After approval, lock the authorized window in the setup sheet and change-control process. Monitor the signals that exposed the risk during trials, such as part mass, cavity pressure where available, coolant temperature difference, ejection alarms, reject categories and key dimensions. Reopen the review when resin source, colorant, press, automation, tool condition, cooling performance or product requirement changes. This preserves the capacity gain without silently moving the part outside its evidence base.
Practical takeaway
Before you move
to the next review.
- Obtain a baseline that separates fill, hold, cooling, motion, ejection and handling time rather than relying on one cycle figure.
- Identify the part-specific CTQs, cosmetic zones, functional tests and cavities that must be compared before and after the change.
- Review cooling balance, actual coolant conditions and known hot spots before reducing the cooling timer.
- Use controlled studies for gate seal, ejection and motion changes; avoid bundling unrelated parameter changes in one trial.
- Approve the setting through documented inspection and change control, then monitor the selected process and quality signals in production.
FAQ
Common questions
What is the safest first place to look for injection mold cycle time reduction?
Begin with a measured stage-by-stage cycle map and the cooling system. Cooling is often a major portion of the cycle, but reduce it only after confirming stable ejection and the agreed dimensional, cosmetic and functional checks. A maintenance issue, circuit imbalance or unnecessary motion may offer a lower-risk opportunity than simply lowering the cooling timer.
Can a buyer specify a fixed cycle time in the RFQ?
A buyer can state a capacity objective or requested production assumption, but a fixed cycle time should be treated as a feasibility item. It depends on part geometry, resin grade, cavity count, tool design, press, automation, cooling, quality criteria and maintenance condition. Ask the supplier to state the assumptions and the validation plan instead of accepting an unsupported promise.
How do buyers know whether hold time can be reduced?
Ask for a controlled gate-seal or hold-time study on a stable process. Compare mass trends with the part-specific inspection and functional evidence. The first weight change can be informative, but it does not by itself prove that fit, appearance, stress or post-mold behavior remain acceptable.
Will automation always reduce molding cycle time?
Not always. Automation can remove repeatable handling delay when the robot is synchronized, waiting in a safe position and compatible with the tool and part. It can also add time or failure modes if extraction, placement, guarding or downstream handling is poorly integrated. Validate tool protection and part condition at the proposed automated sequence.
References
Source material
- [1] Toray Industries, Estimating molding cycle time
- [2] RJG, How to Determine Injection Molding Cooling Time
- [3] Plastics Technology, Faster Is Not Always Better—Optimize Your Molding Cycle
This guide is general information for early procurement and engineering discussion. It does not replace product-specific DFM, qualification, validation, regulatory assessment or legal advice.